Manufacturing:X2 Top Level Camera Assembly
Idrive X2 Camera Top Level Assembly
Driver Side Case Assembly
| X2 Drive Side Case Materials |
|---|
| Driver Side Plastic Case |
| LED Plastic Lens |
| X2 Main Board and LED Assembly |
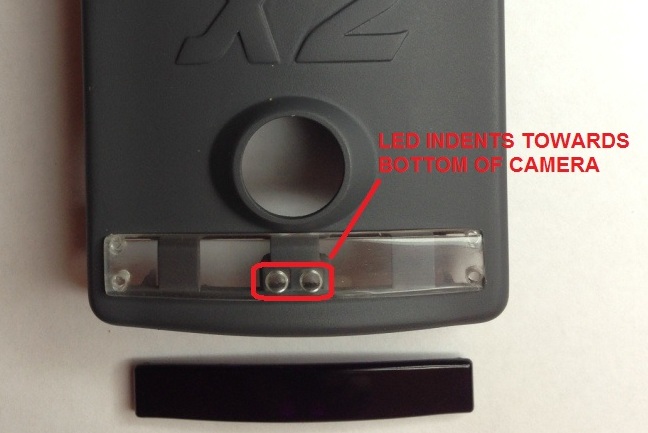
1. Snap the LED Lens into the Driver Side Case
- - Ensure that the two LED indents are towards the bottom of the camera
- - Clear LED lens is shown to enhance the view of indents
- - Actual LED Lens is black/opaque as shown
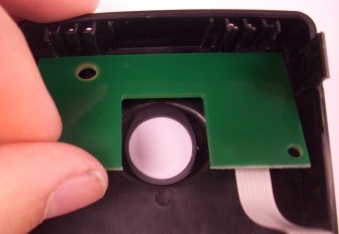
2. Snap the LED Board Assembly into the Driver Side Case as shown
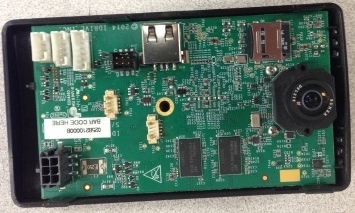
3. Snap the X2 Main board Assembly into the Driver Side Case as shown
Road Side Case Assembly
| X2 Road Side Case Materials |
|---|
| Road Side Plastic case |
| Plastic Support Spur |
| Screw for Support Spur |
| FCC Compliance Label |
| Electronic Module Materials |
|---|
| SparkLan WiFi Module |
| WiFi cable |
| Dual Band WiFi Antenna |
| Screws for WiFi mounting |
| GPS Module Assembly |
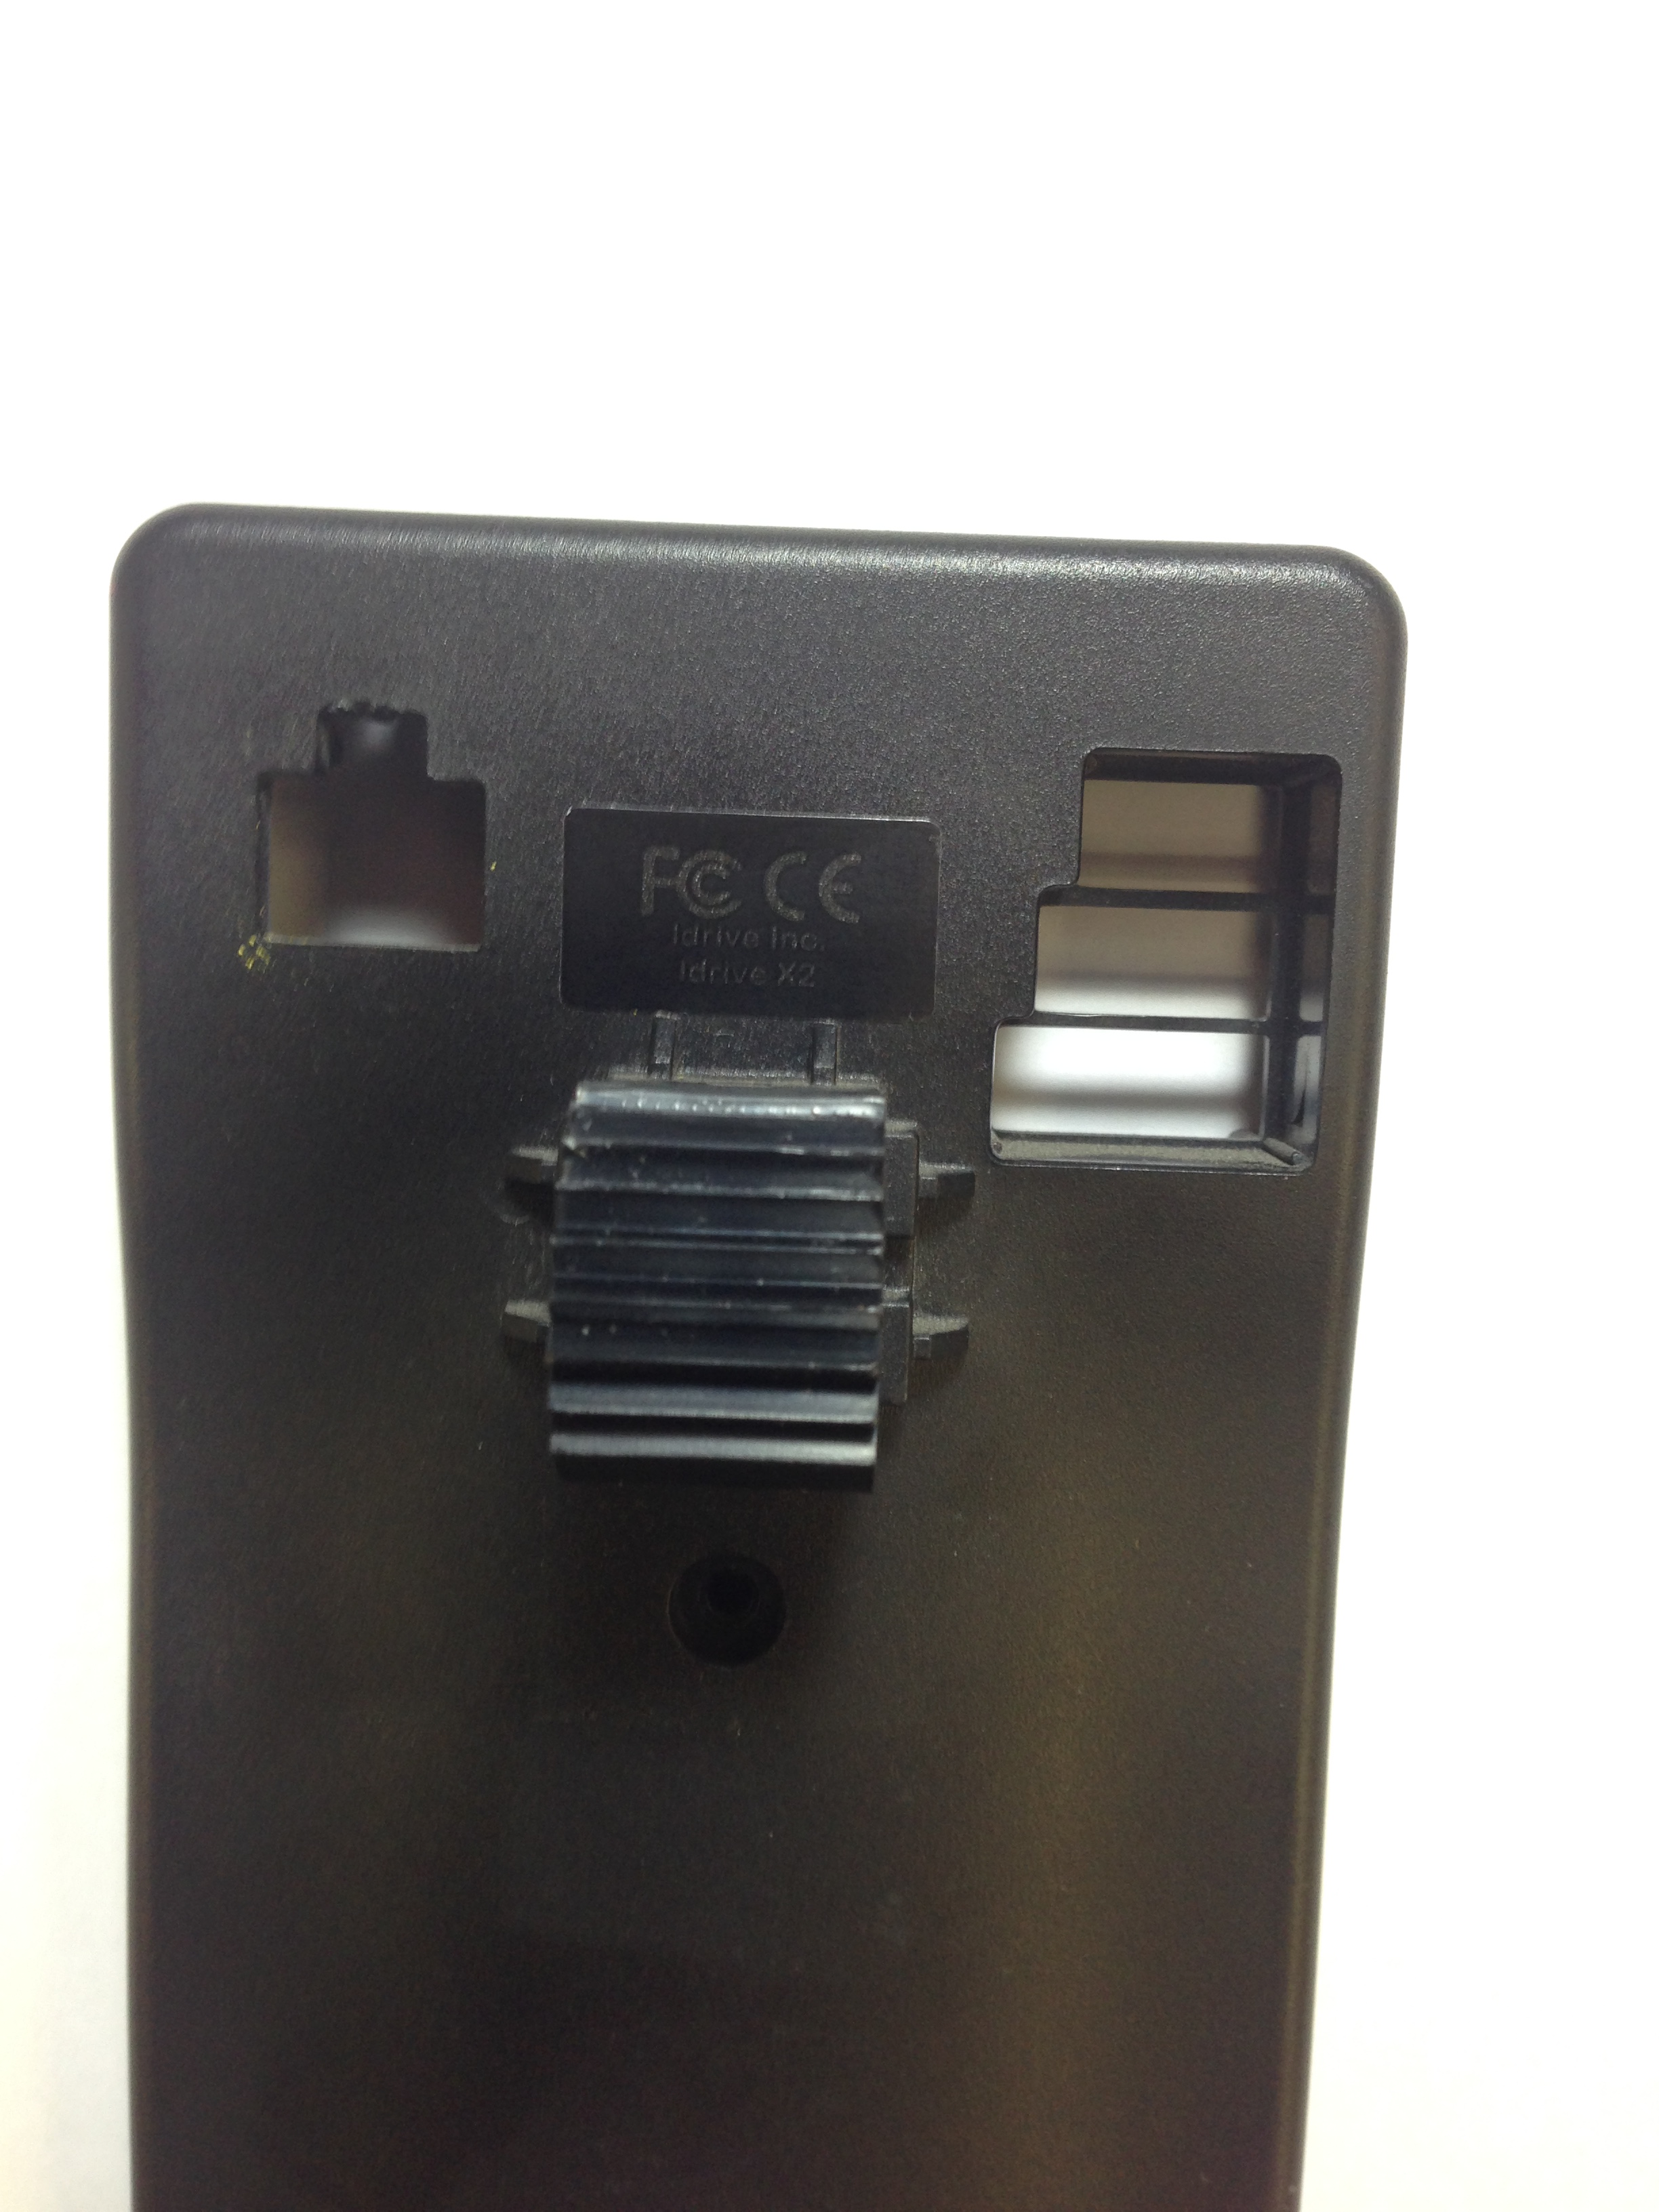
1. Attach Base Support Spur to the Road Side Case with the screw, Place FCC compliance sticker as shown.
- Note correct orientation of Support Spur ("Gear" towards FCC sticker)
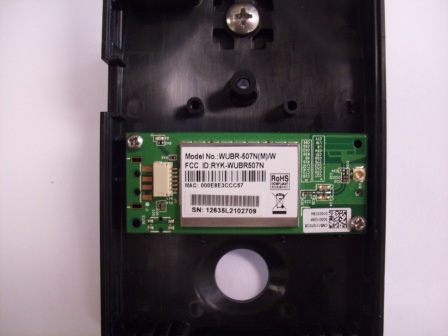
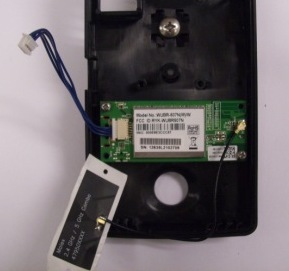
2. Install the Wifi Module with cable and antenna, secure with 2 screws as shown
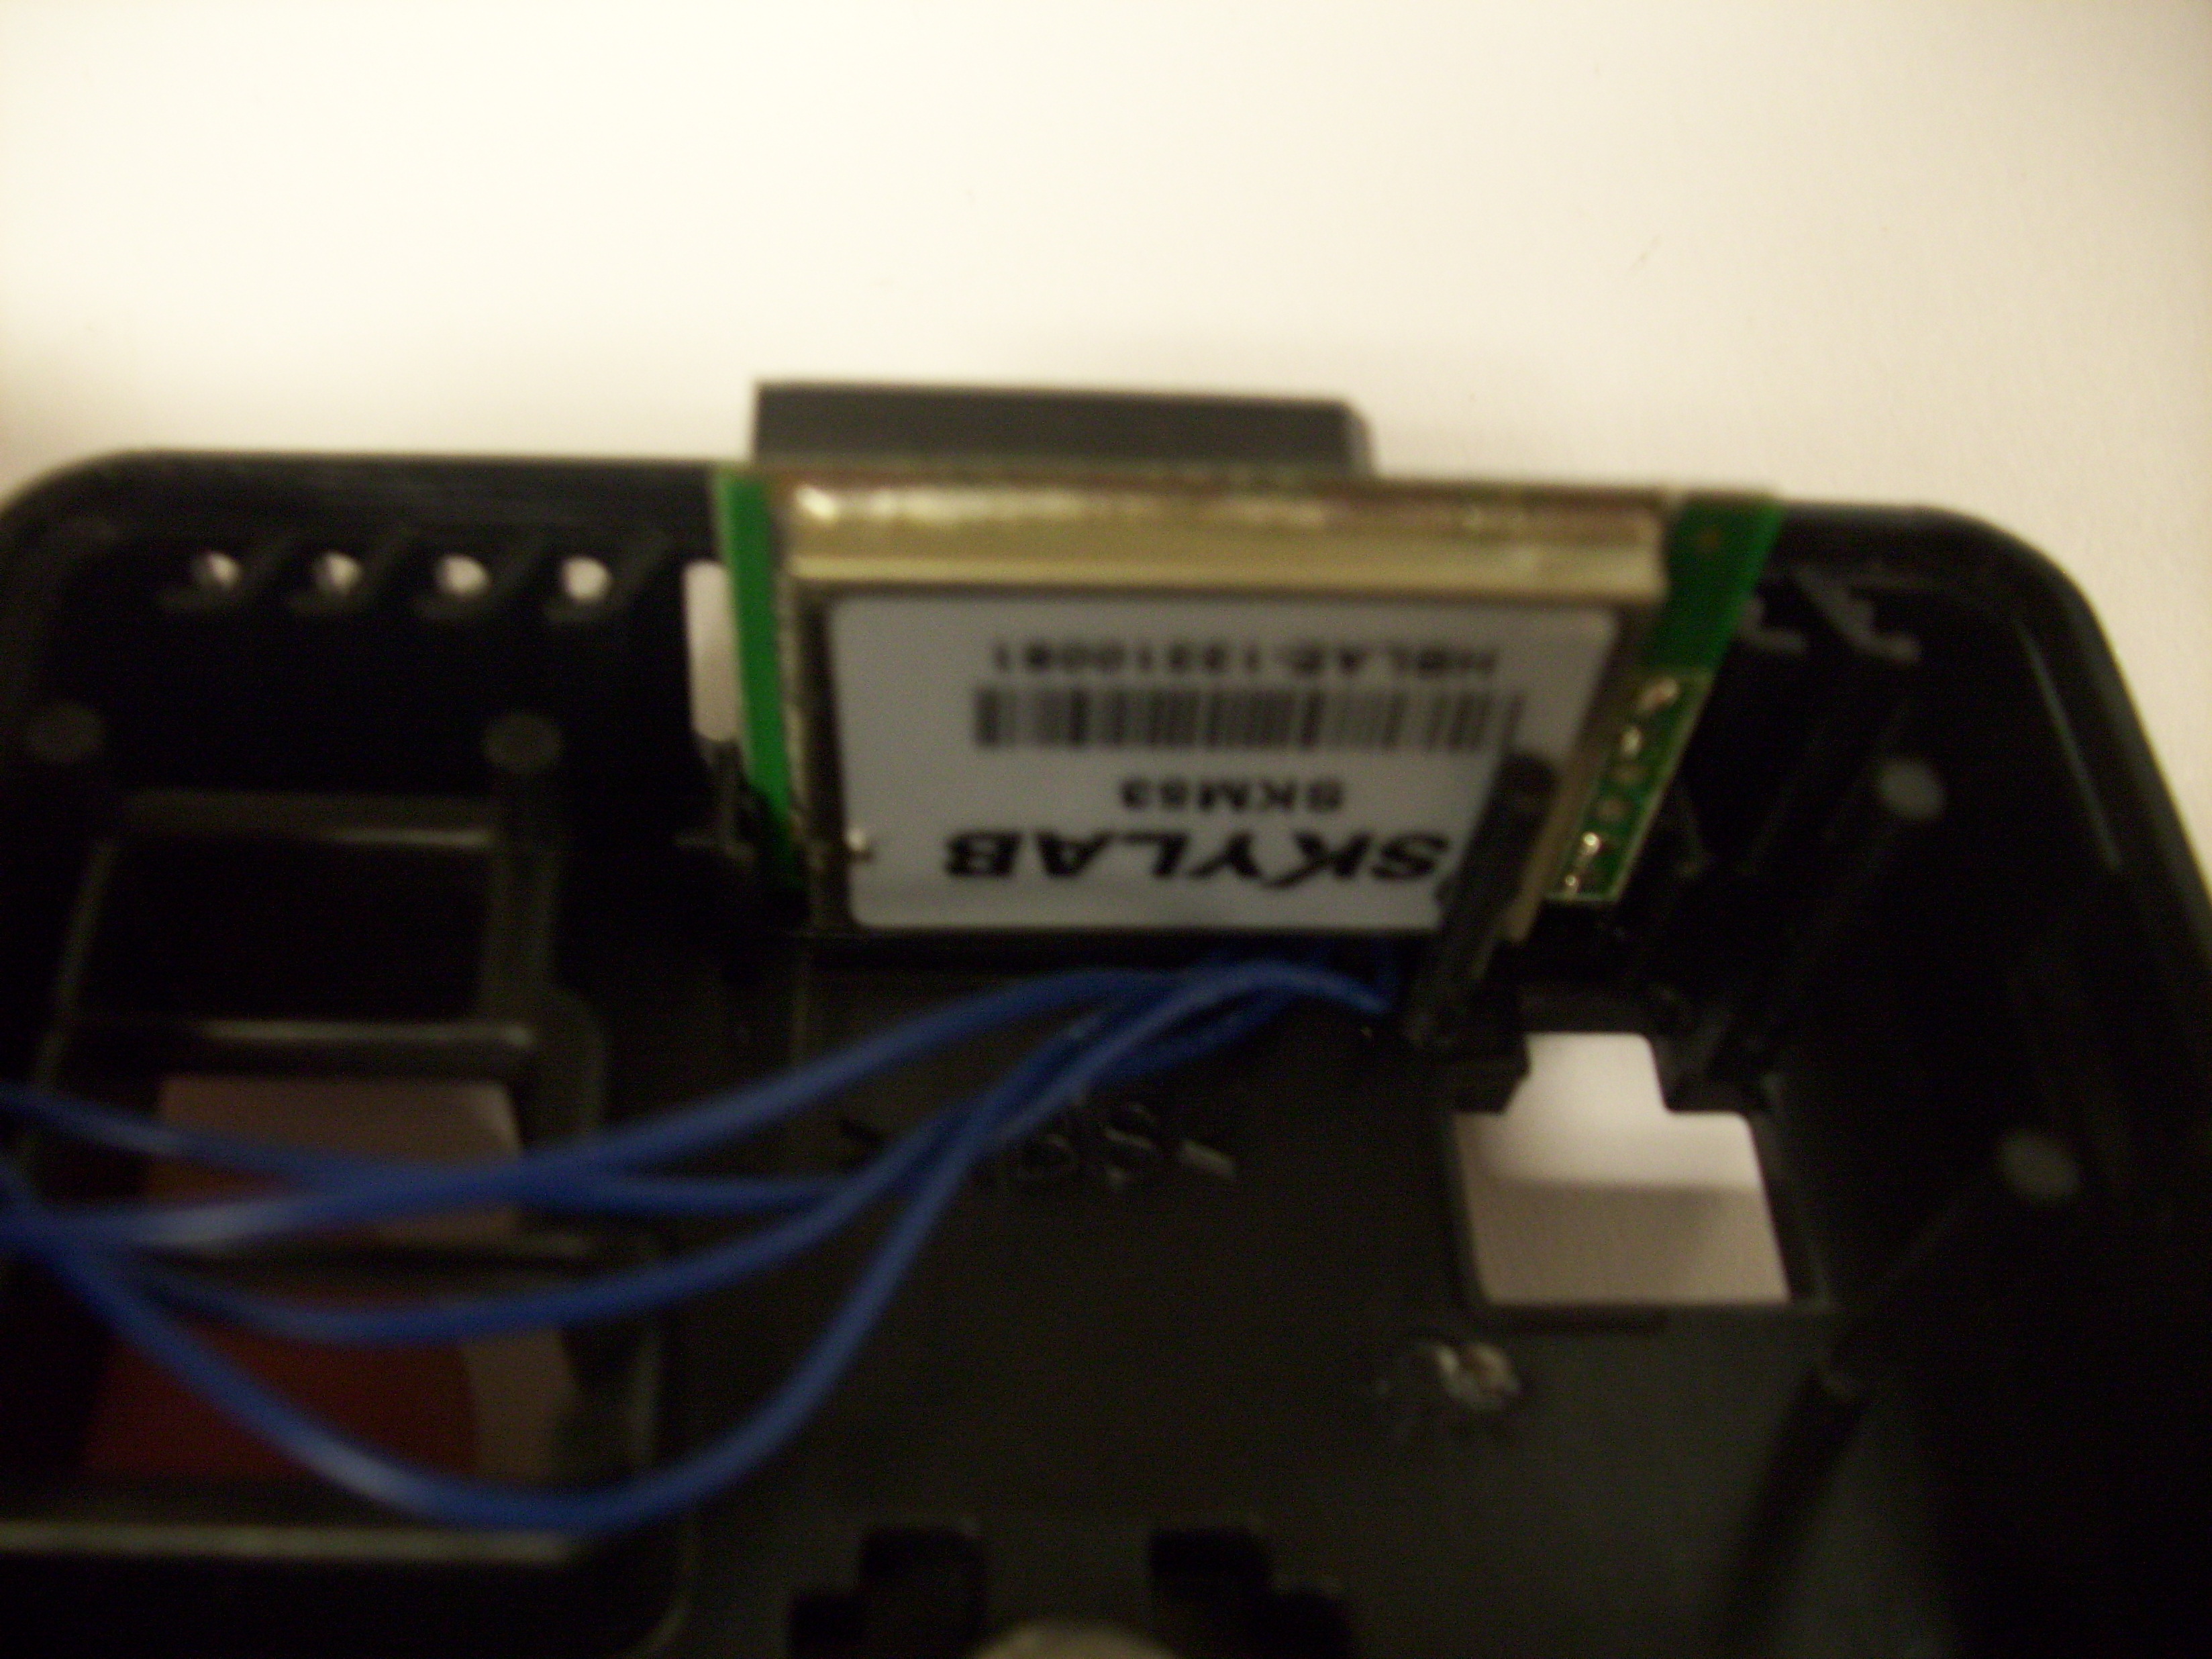
3. Install GPS Module as shown. Ensure the cable is routed properly so as to avoid he power connector opening.
Top Level Camera Assembly
| X2 Top Level Camera Materials |
|---|
| Driver Side Case Assembly |
| Road Side Case Assembly |
| Bar Code Label with Serial Number |
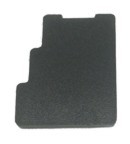
| Plastic Dust Cover for Accessory Connectors |
| Case Screw |
| Wifi Antenna |
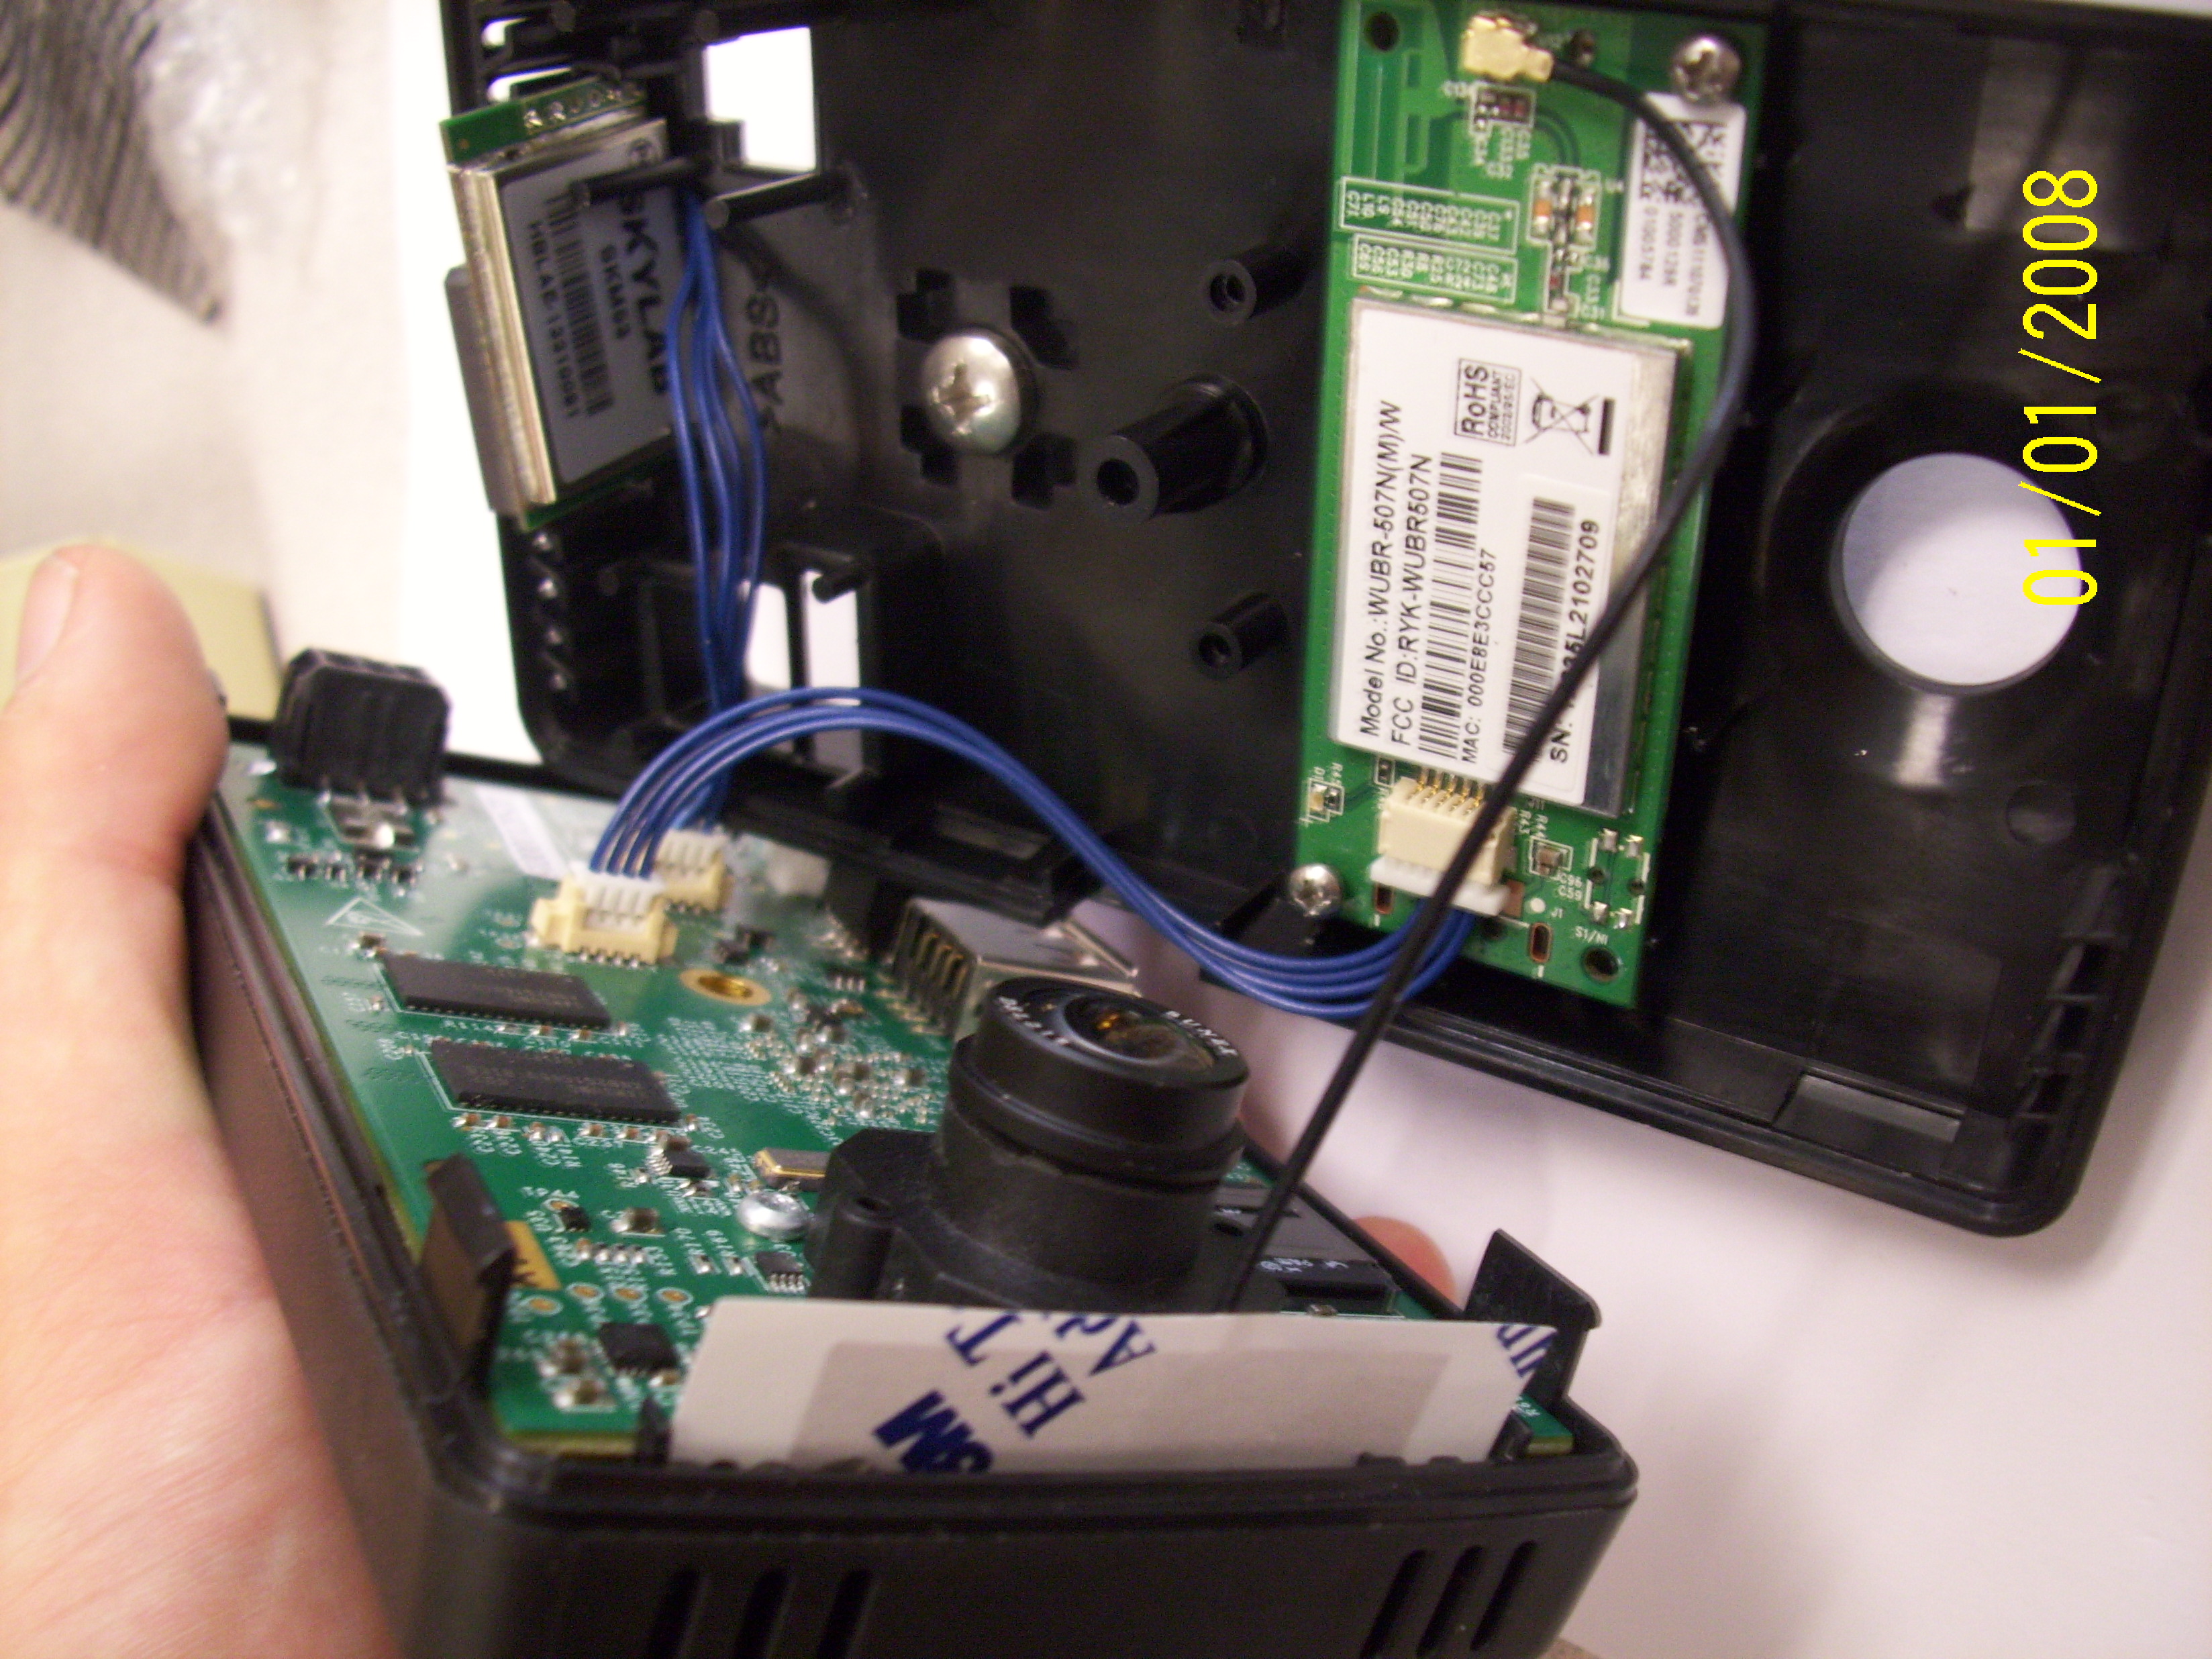
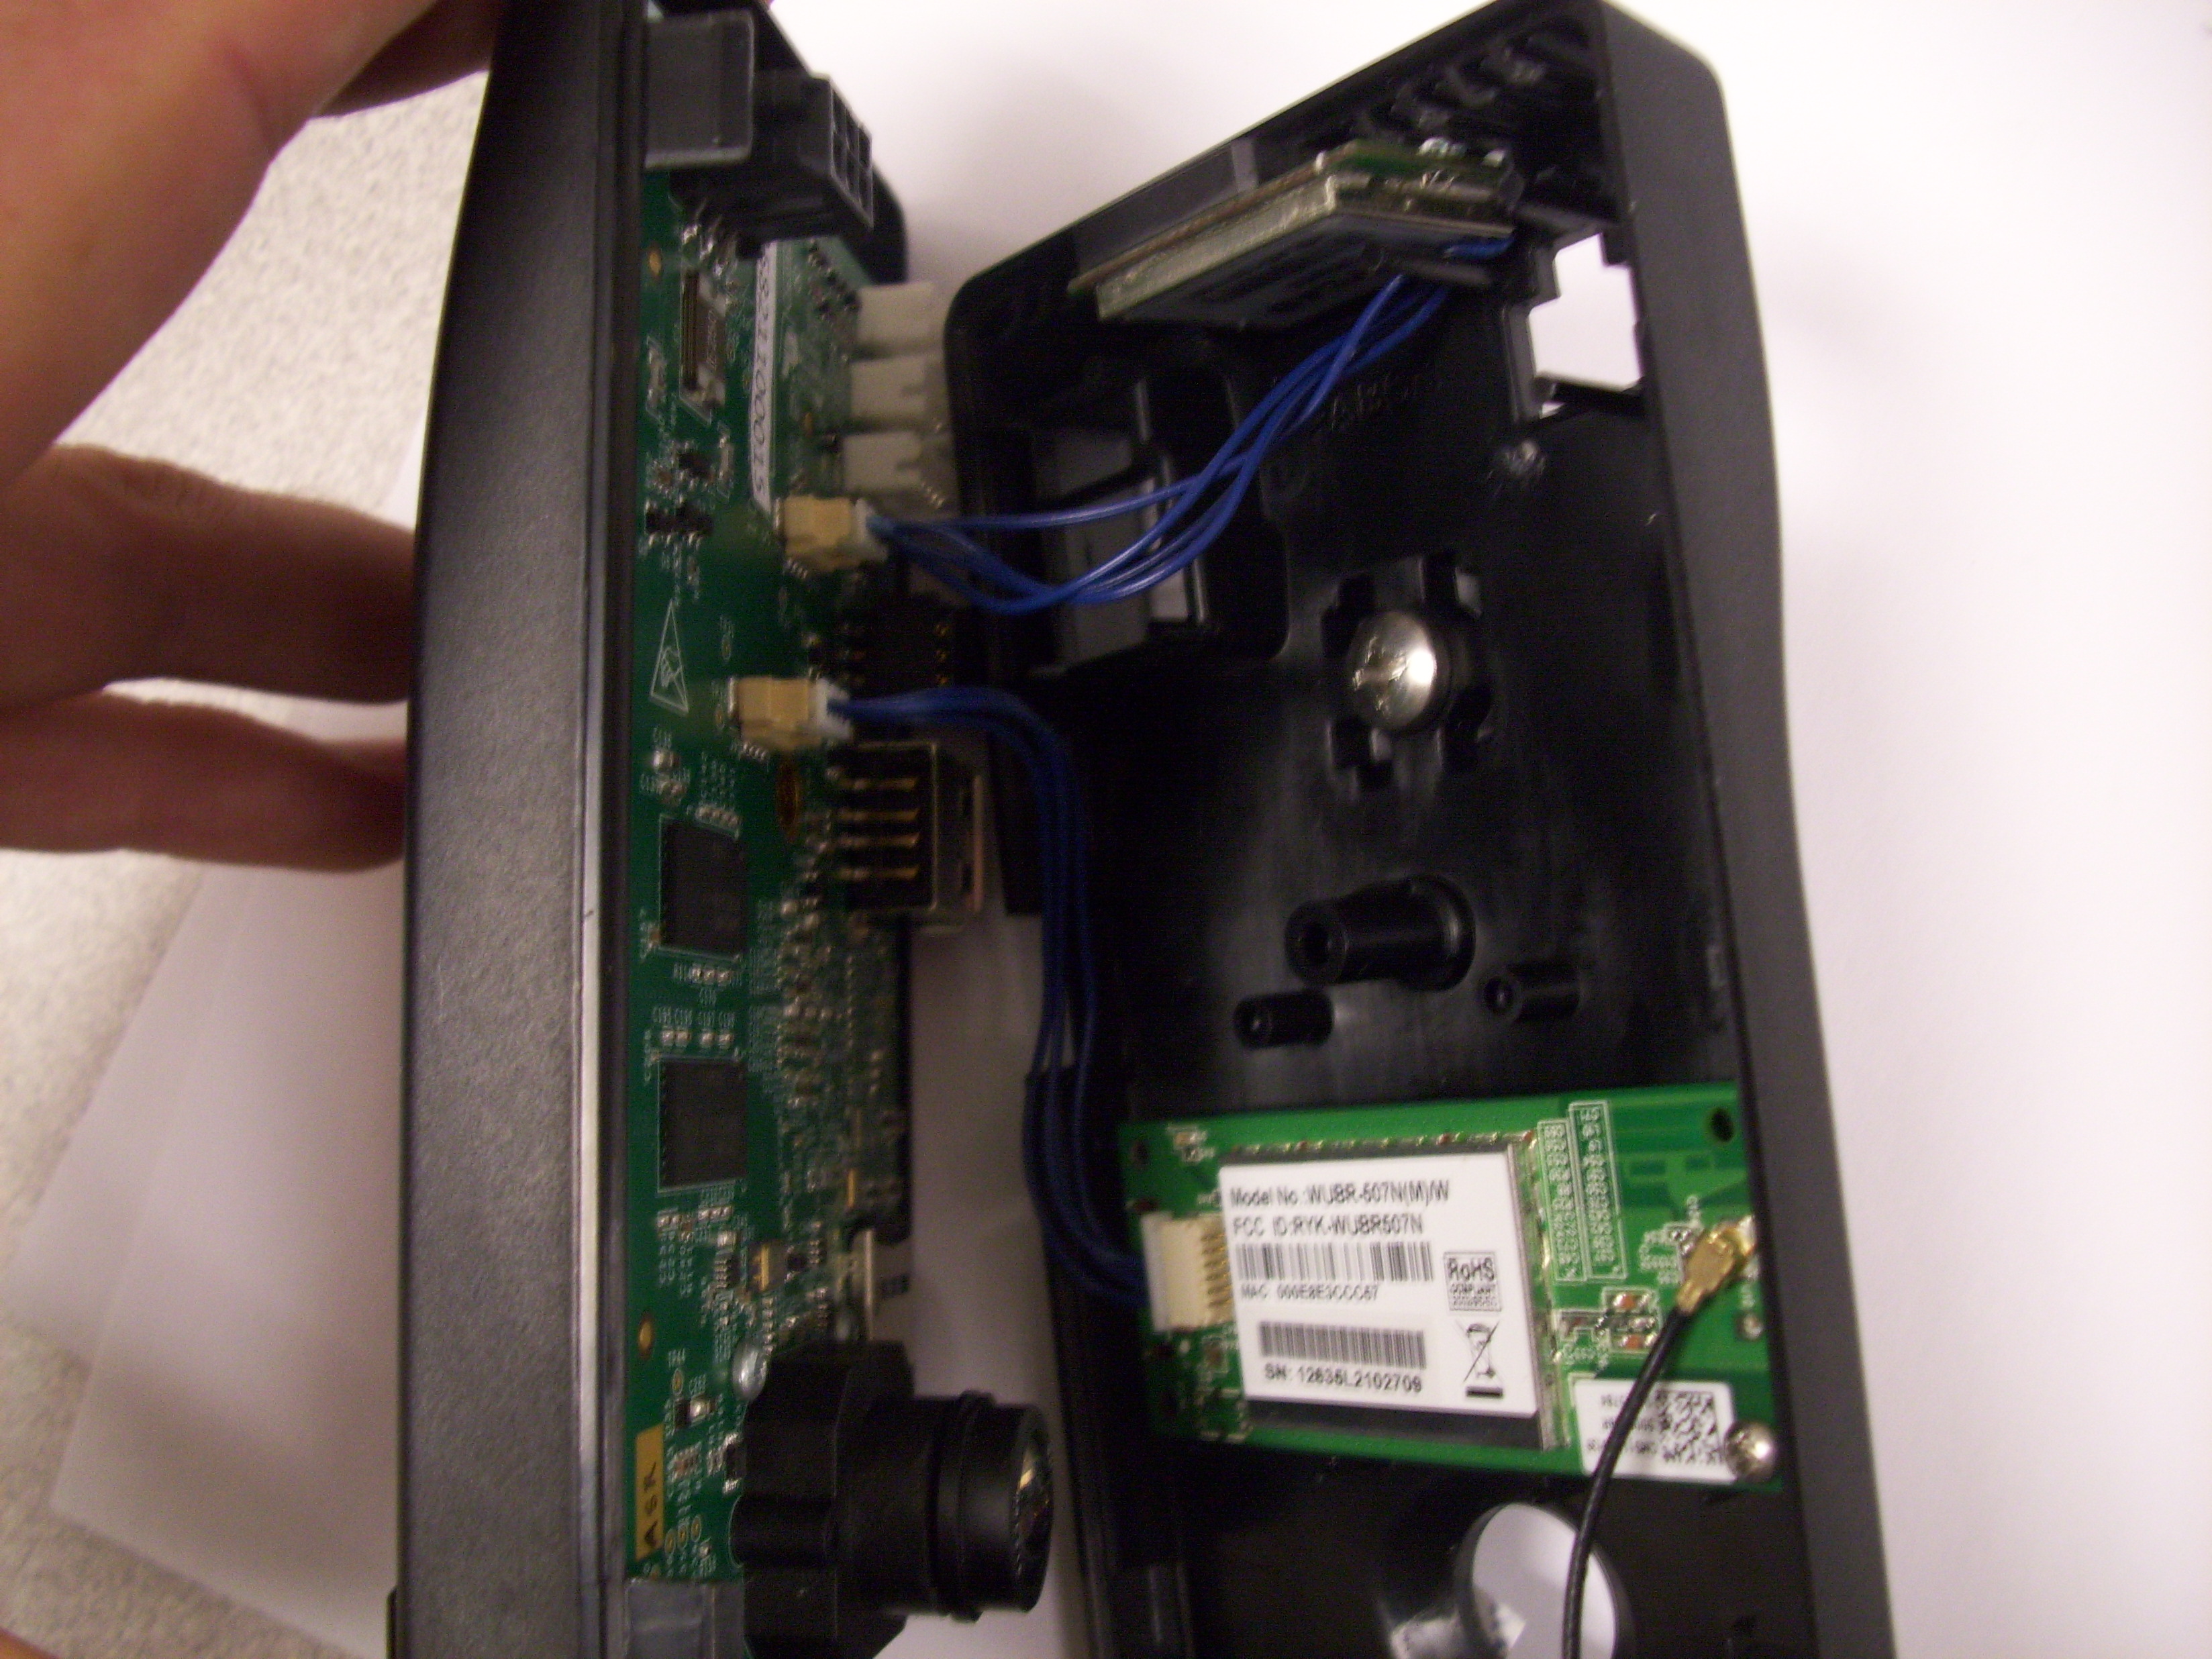
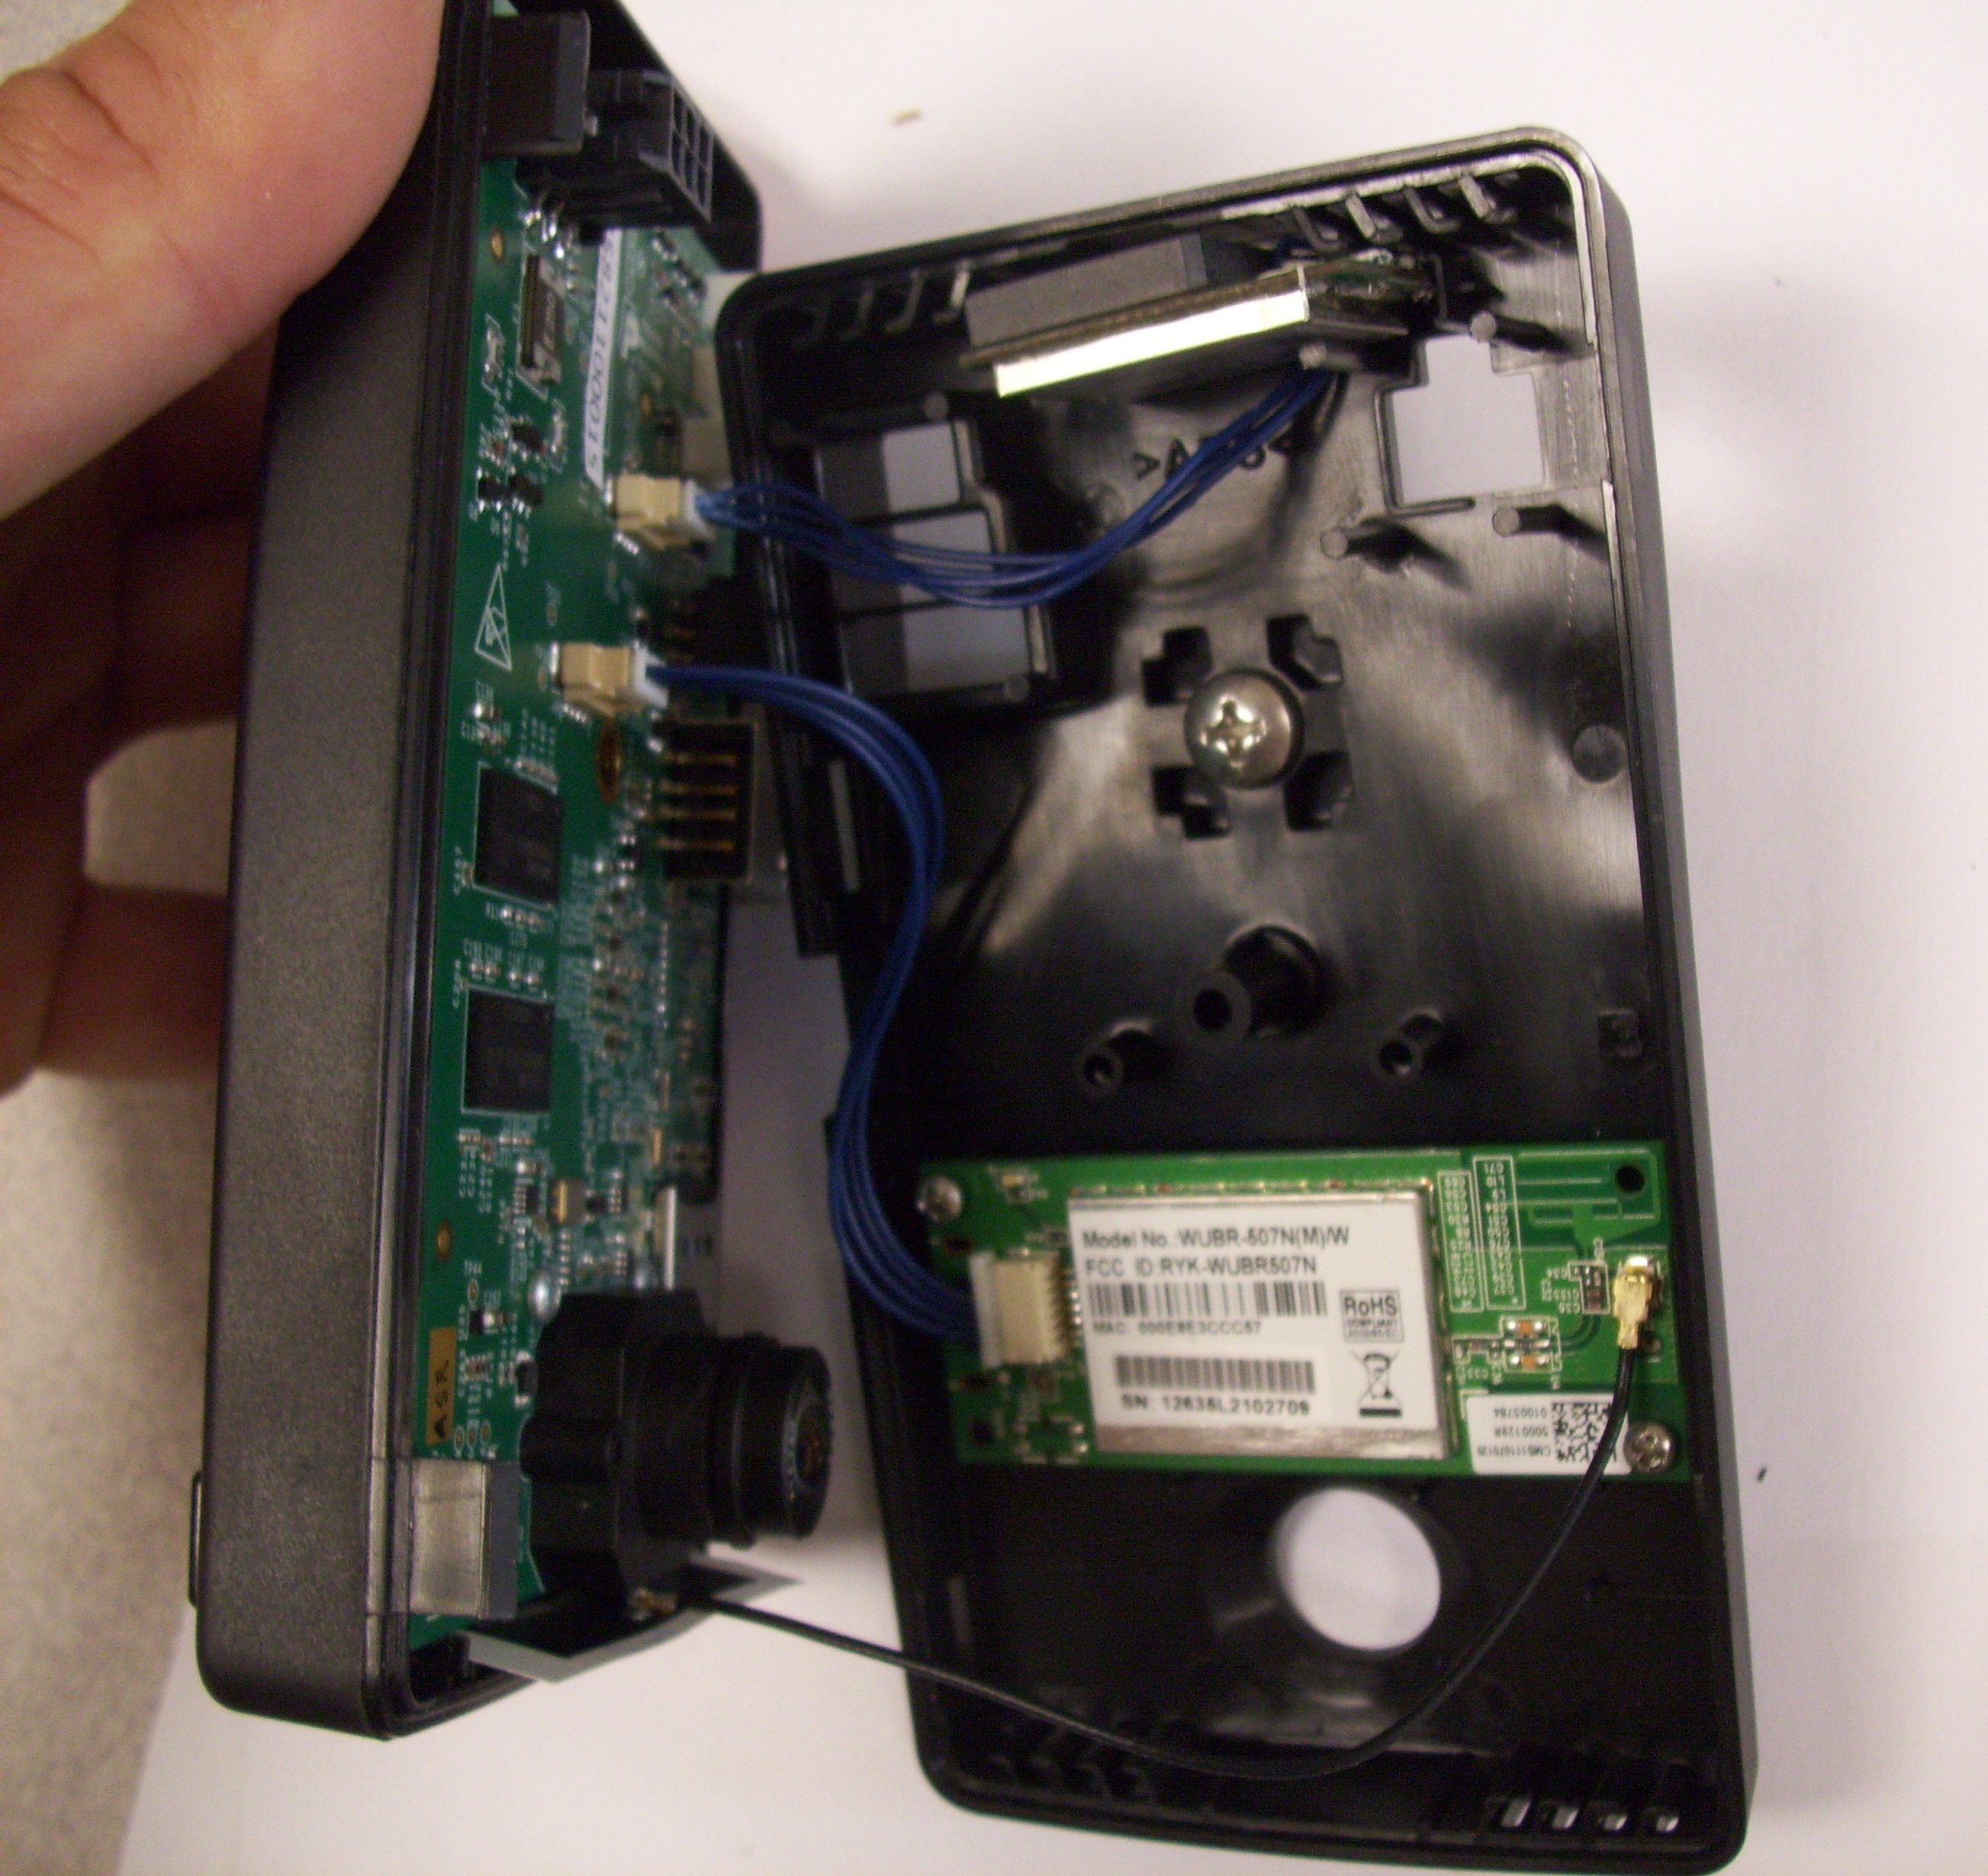
1. Connect the GPS and WiFi Cables to the Main Board. Remove the backing tape from the wifi antenna and affix the Antenna on the Driver Side Case as shown.
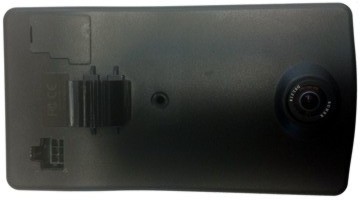
2. Snap the two halves of the camera together ensuring no cables interfere with or block the Lens, Power Connector, I/O Connectors, USB opening or case screw
3. Install Plastic Dust Cover for Accessory Connectors - move to after final test.
4. Secure the cases to together with the case screw. Do not over torque the screw.
Windshield Support Assembly
| X2 Windshield Support Materials |
|---|
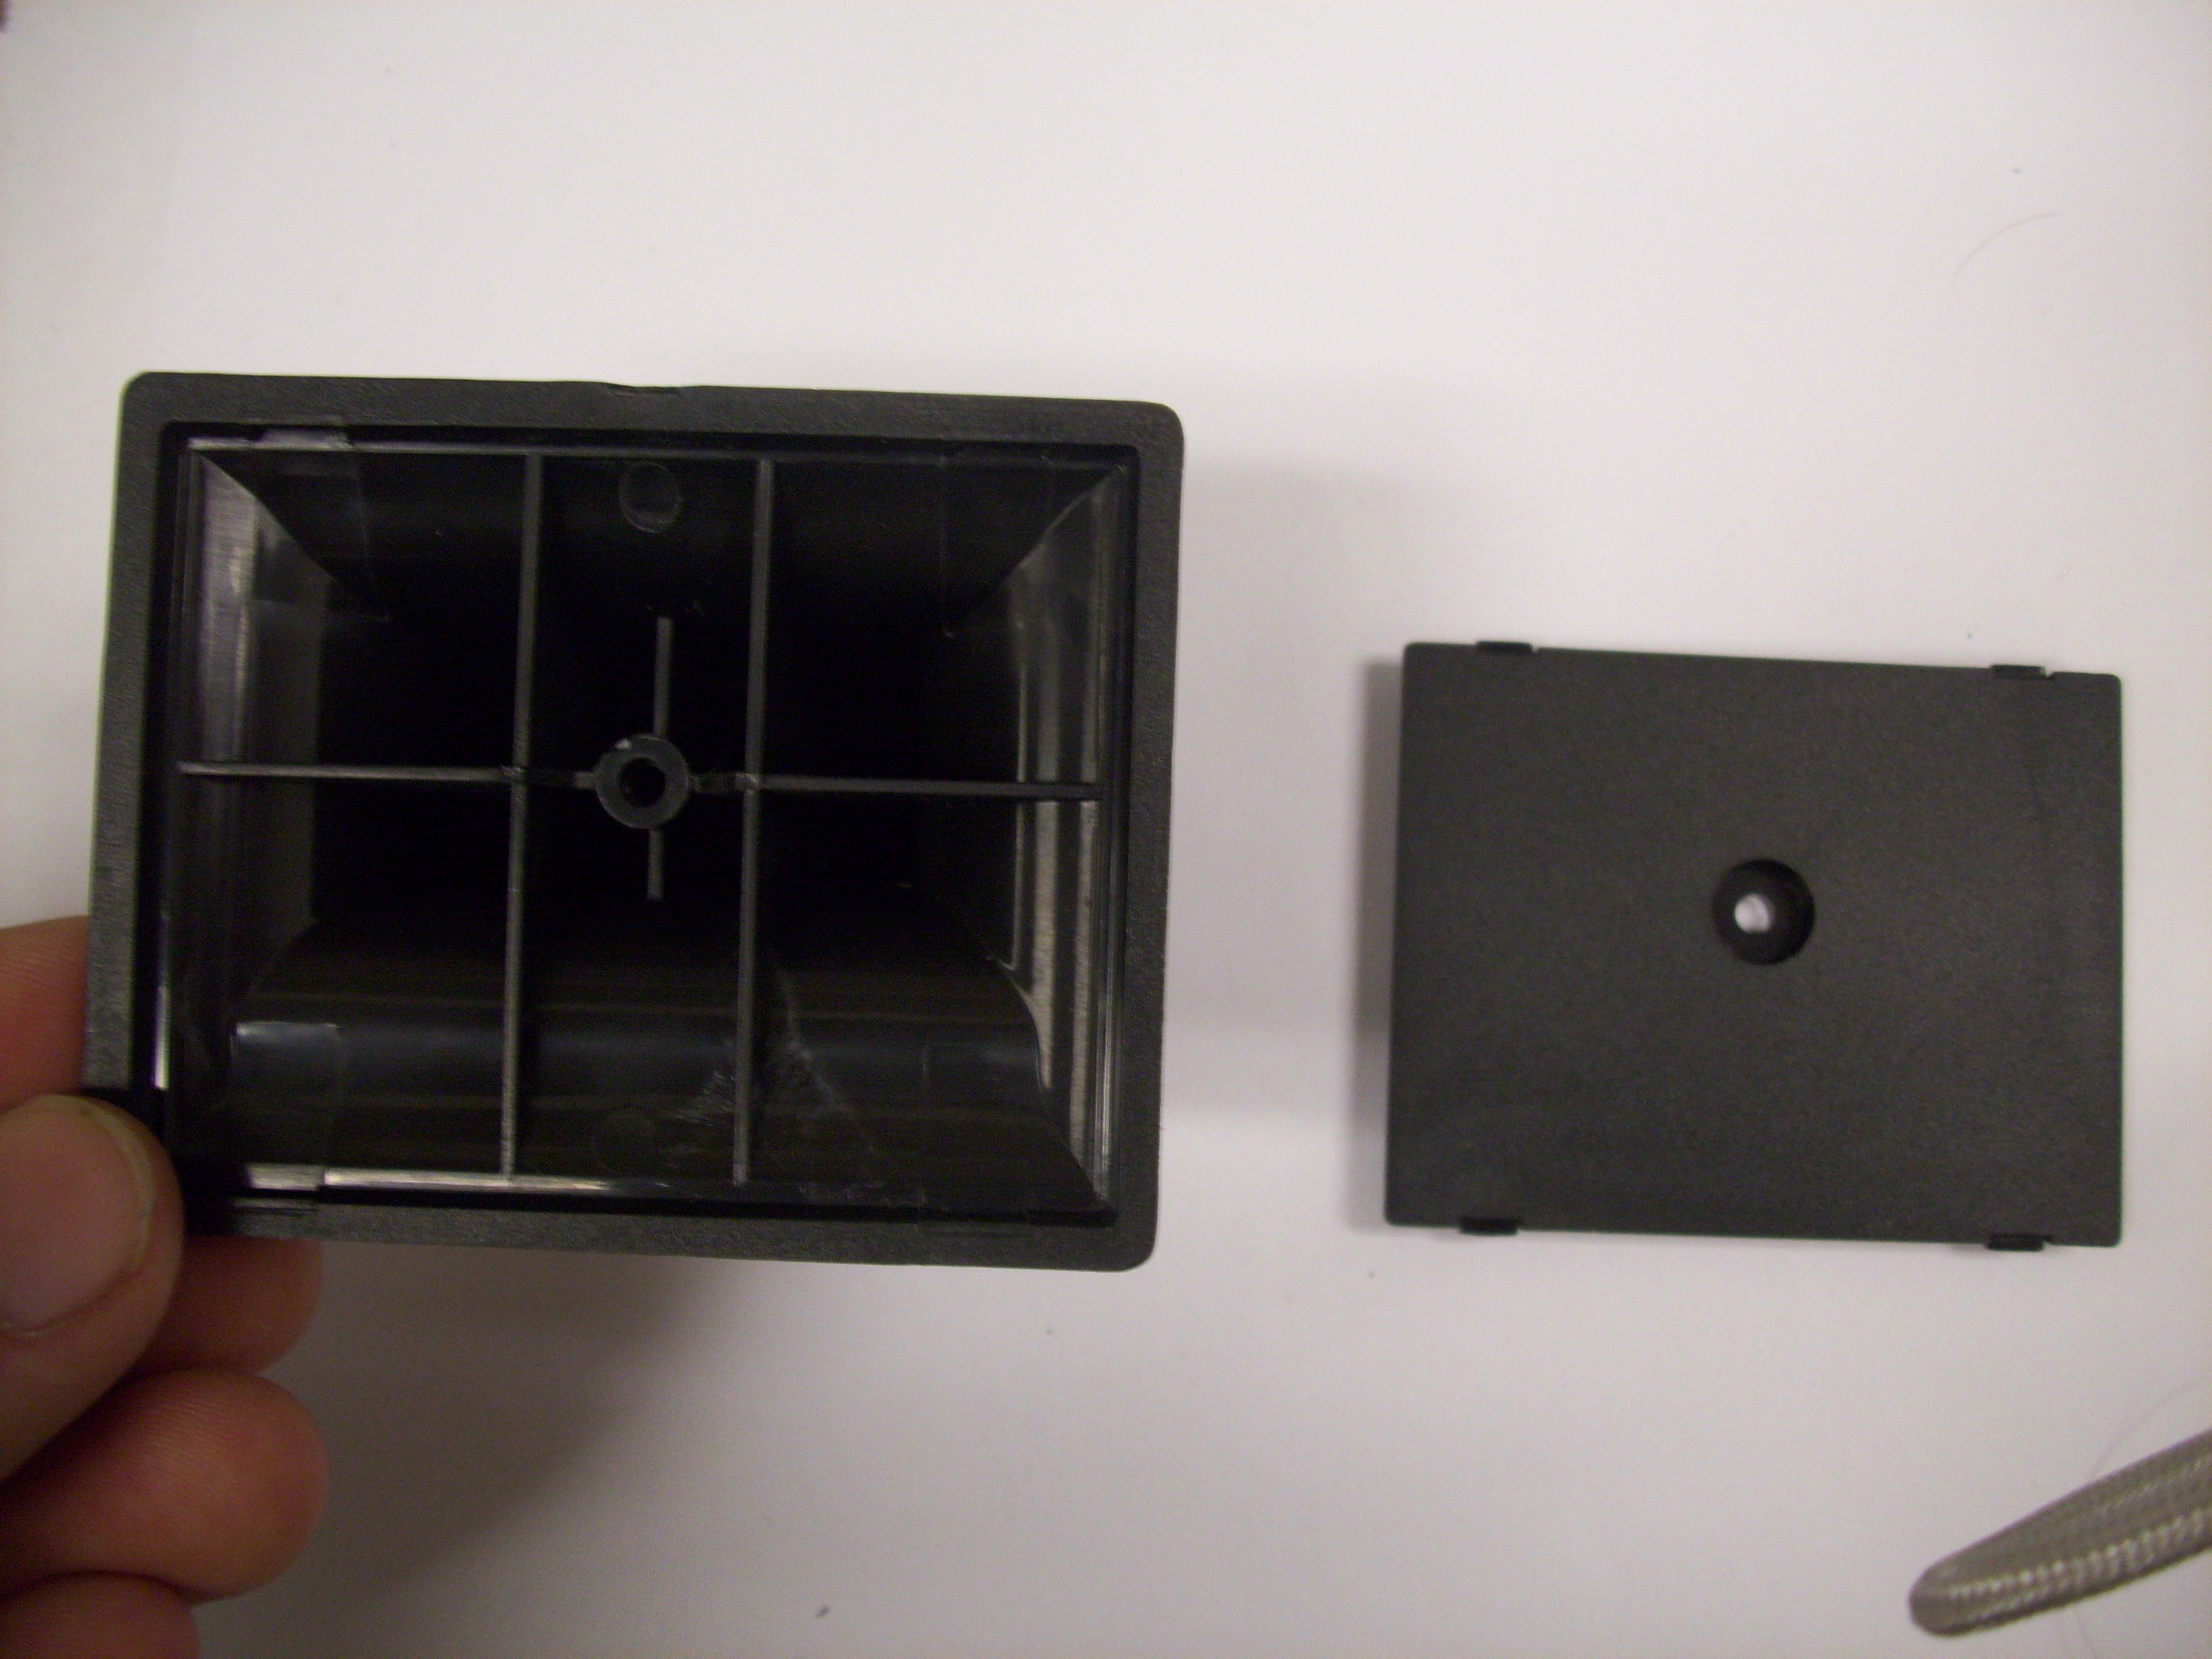
| Plastic Windshield Support |
| Plastic Support Back Plate |
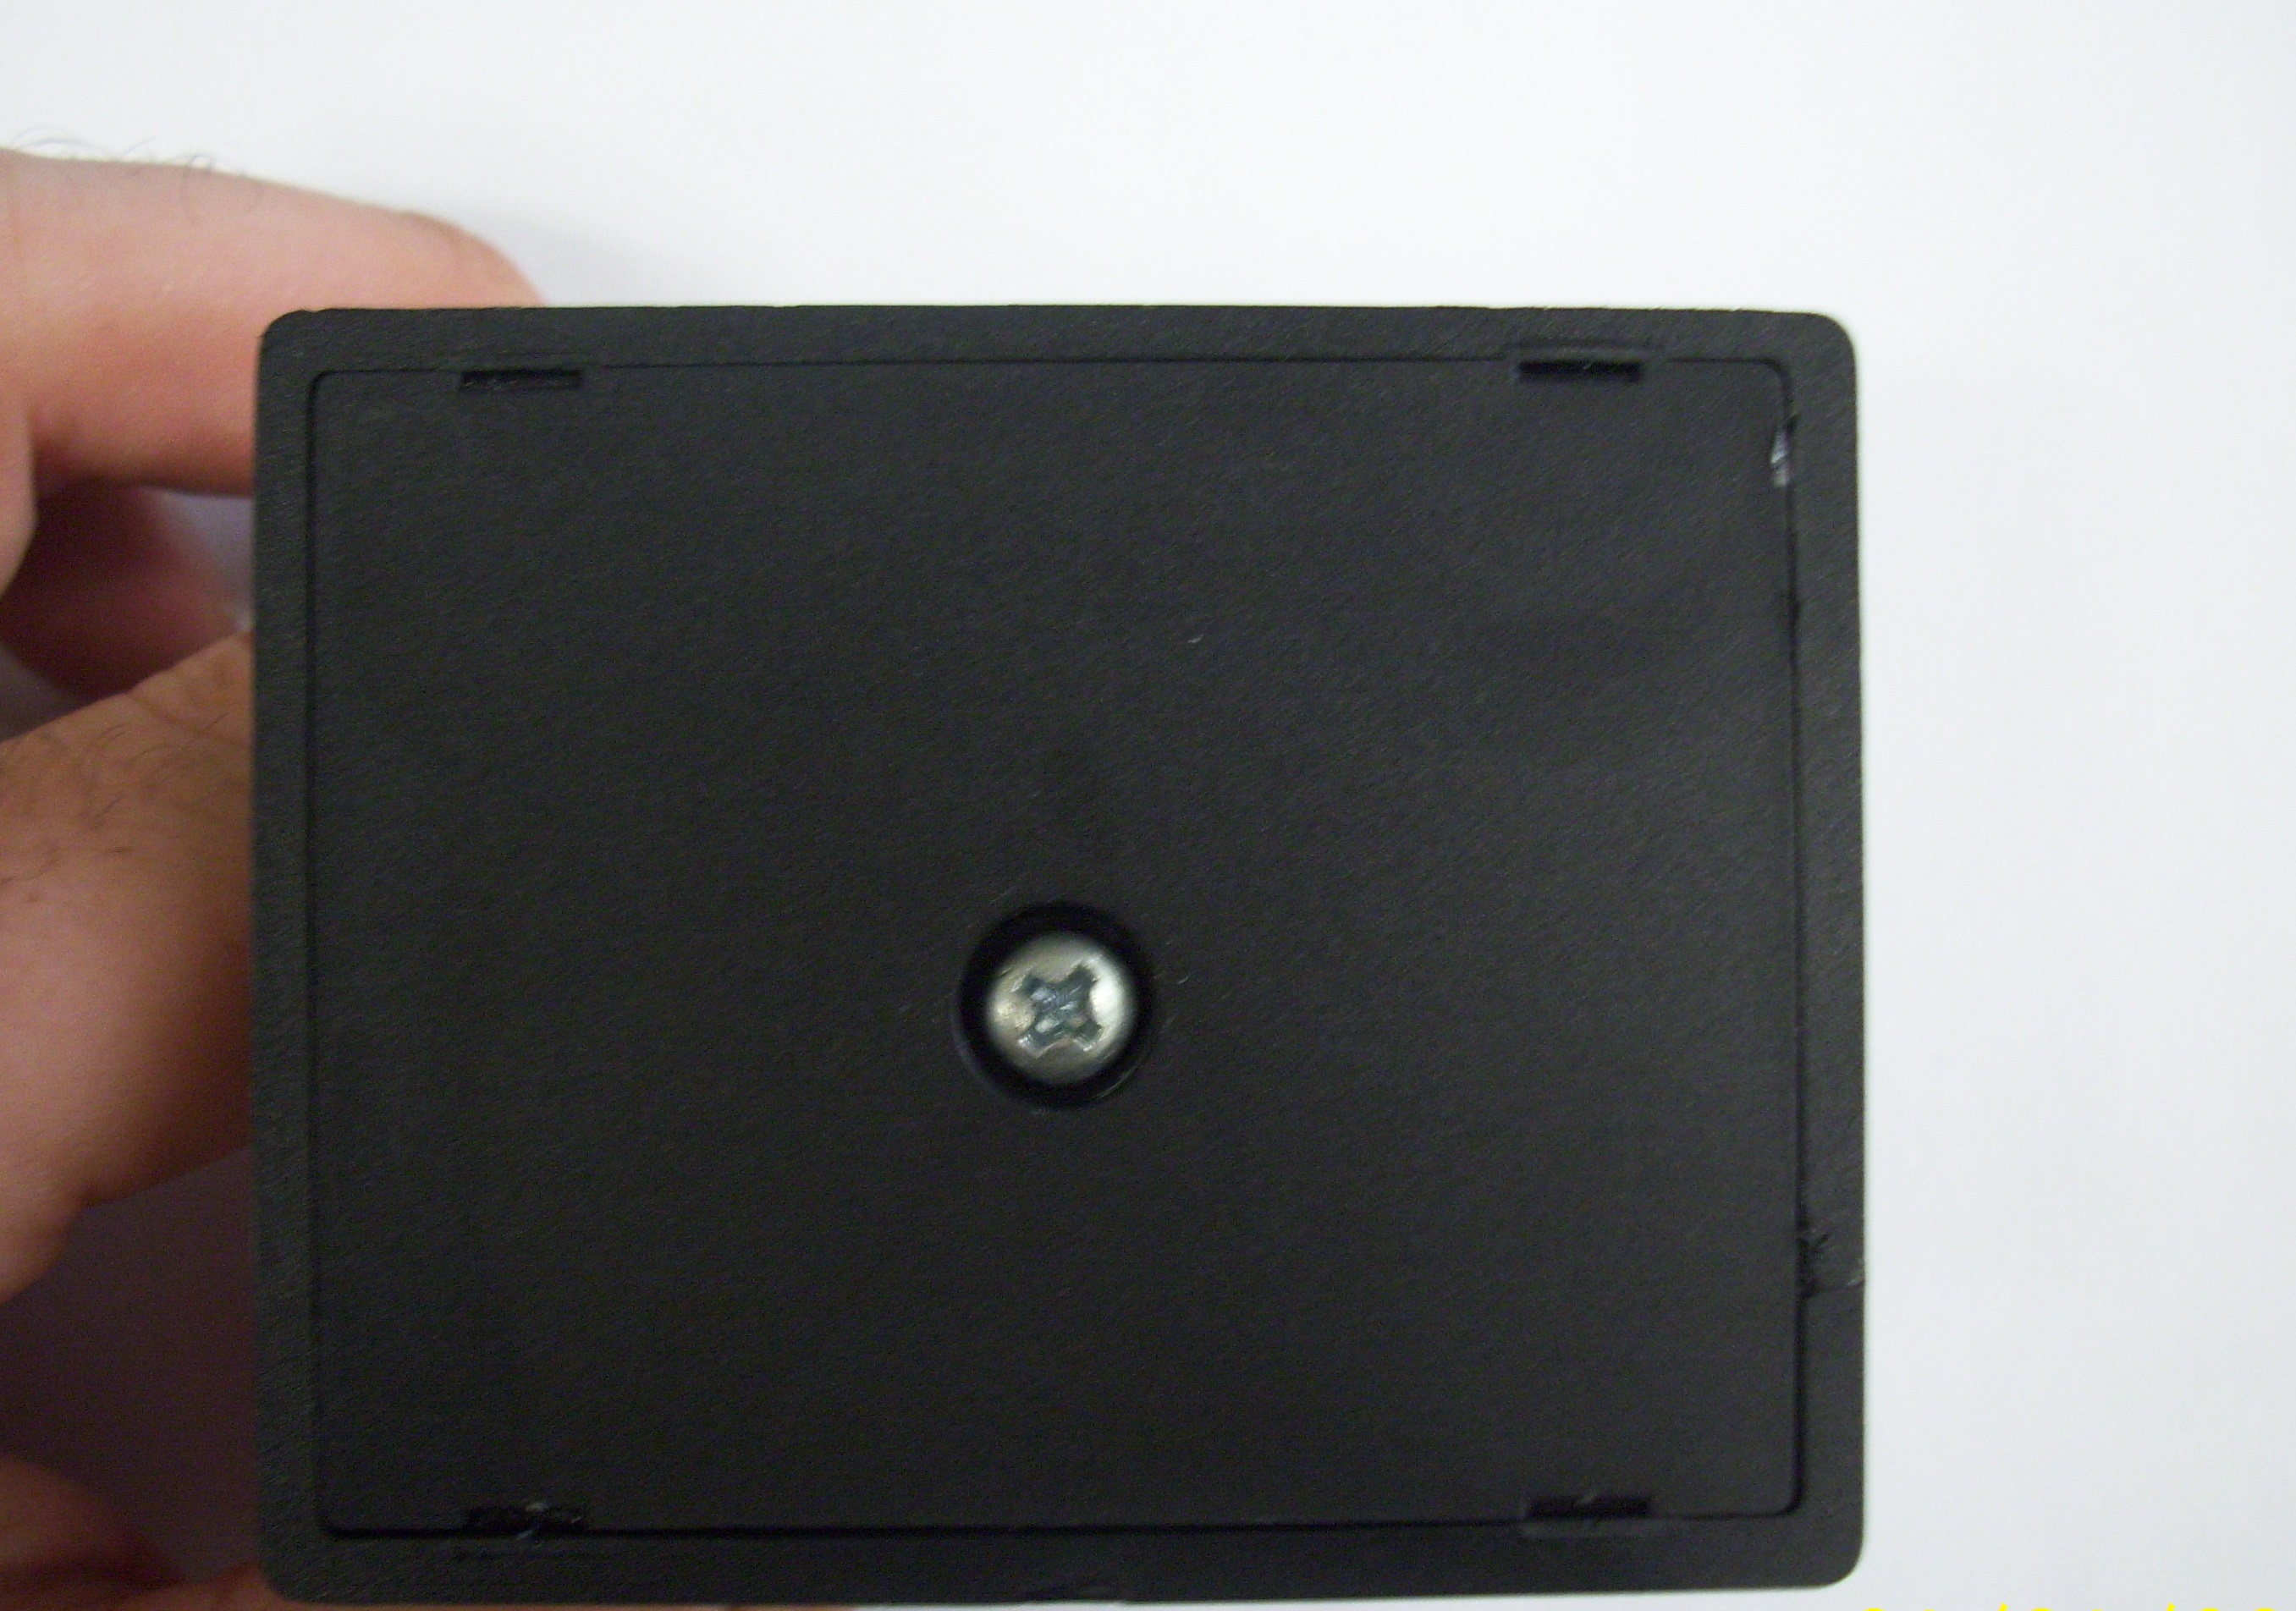
| Screw for Support Back Plate |
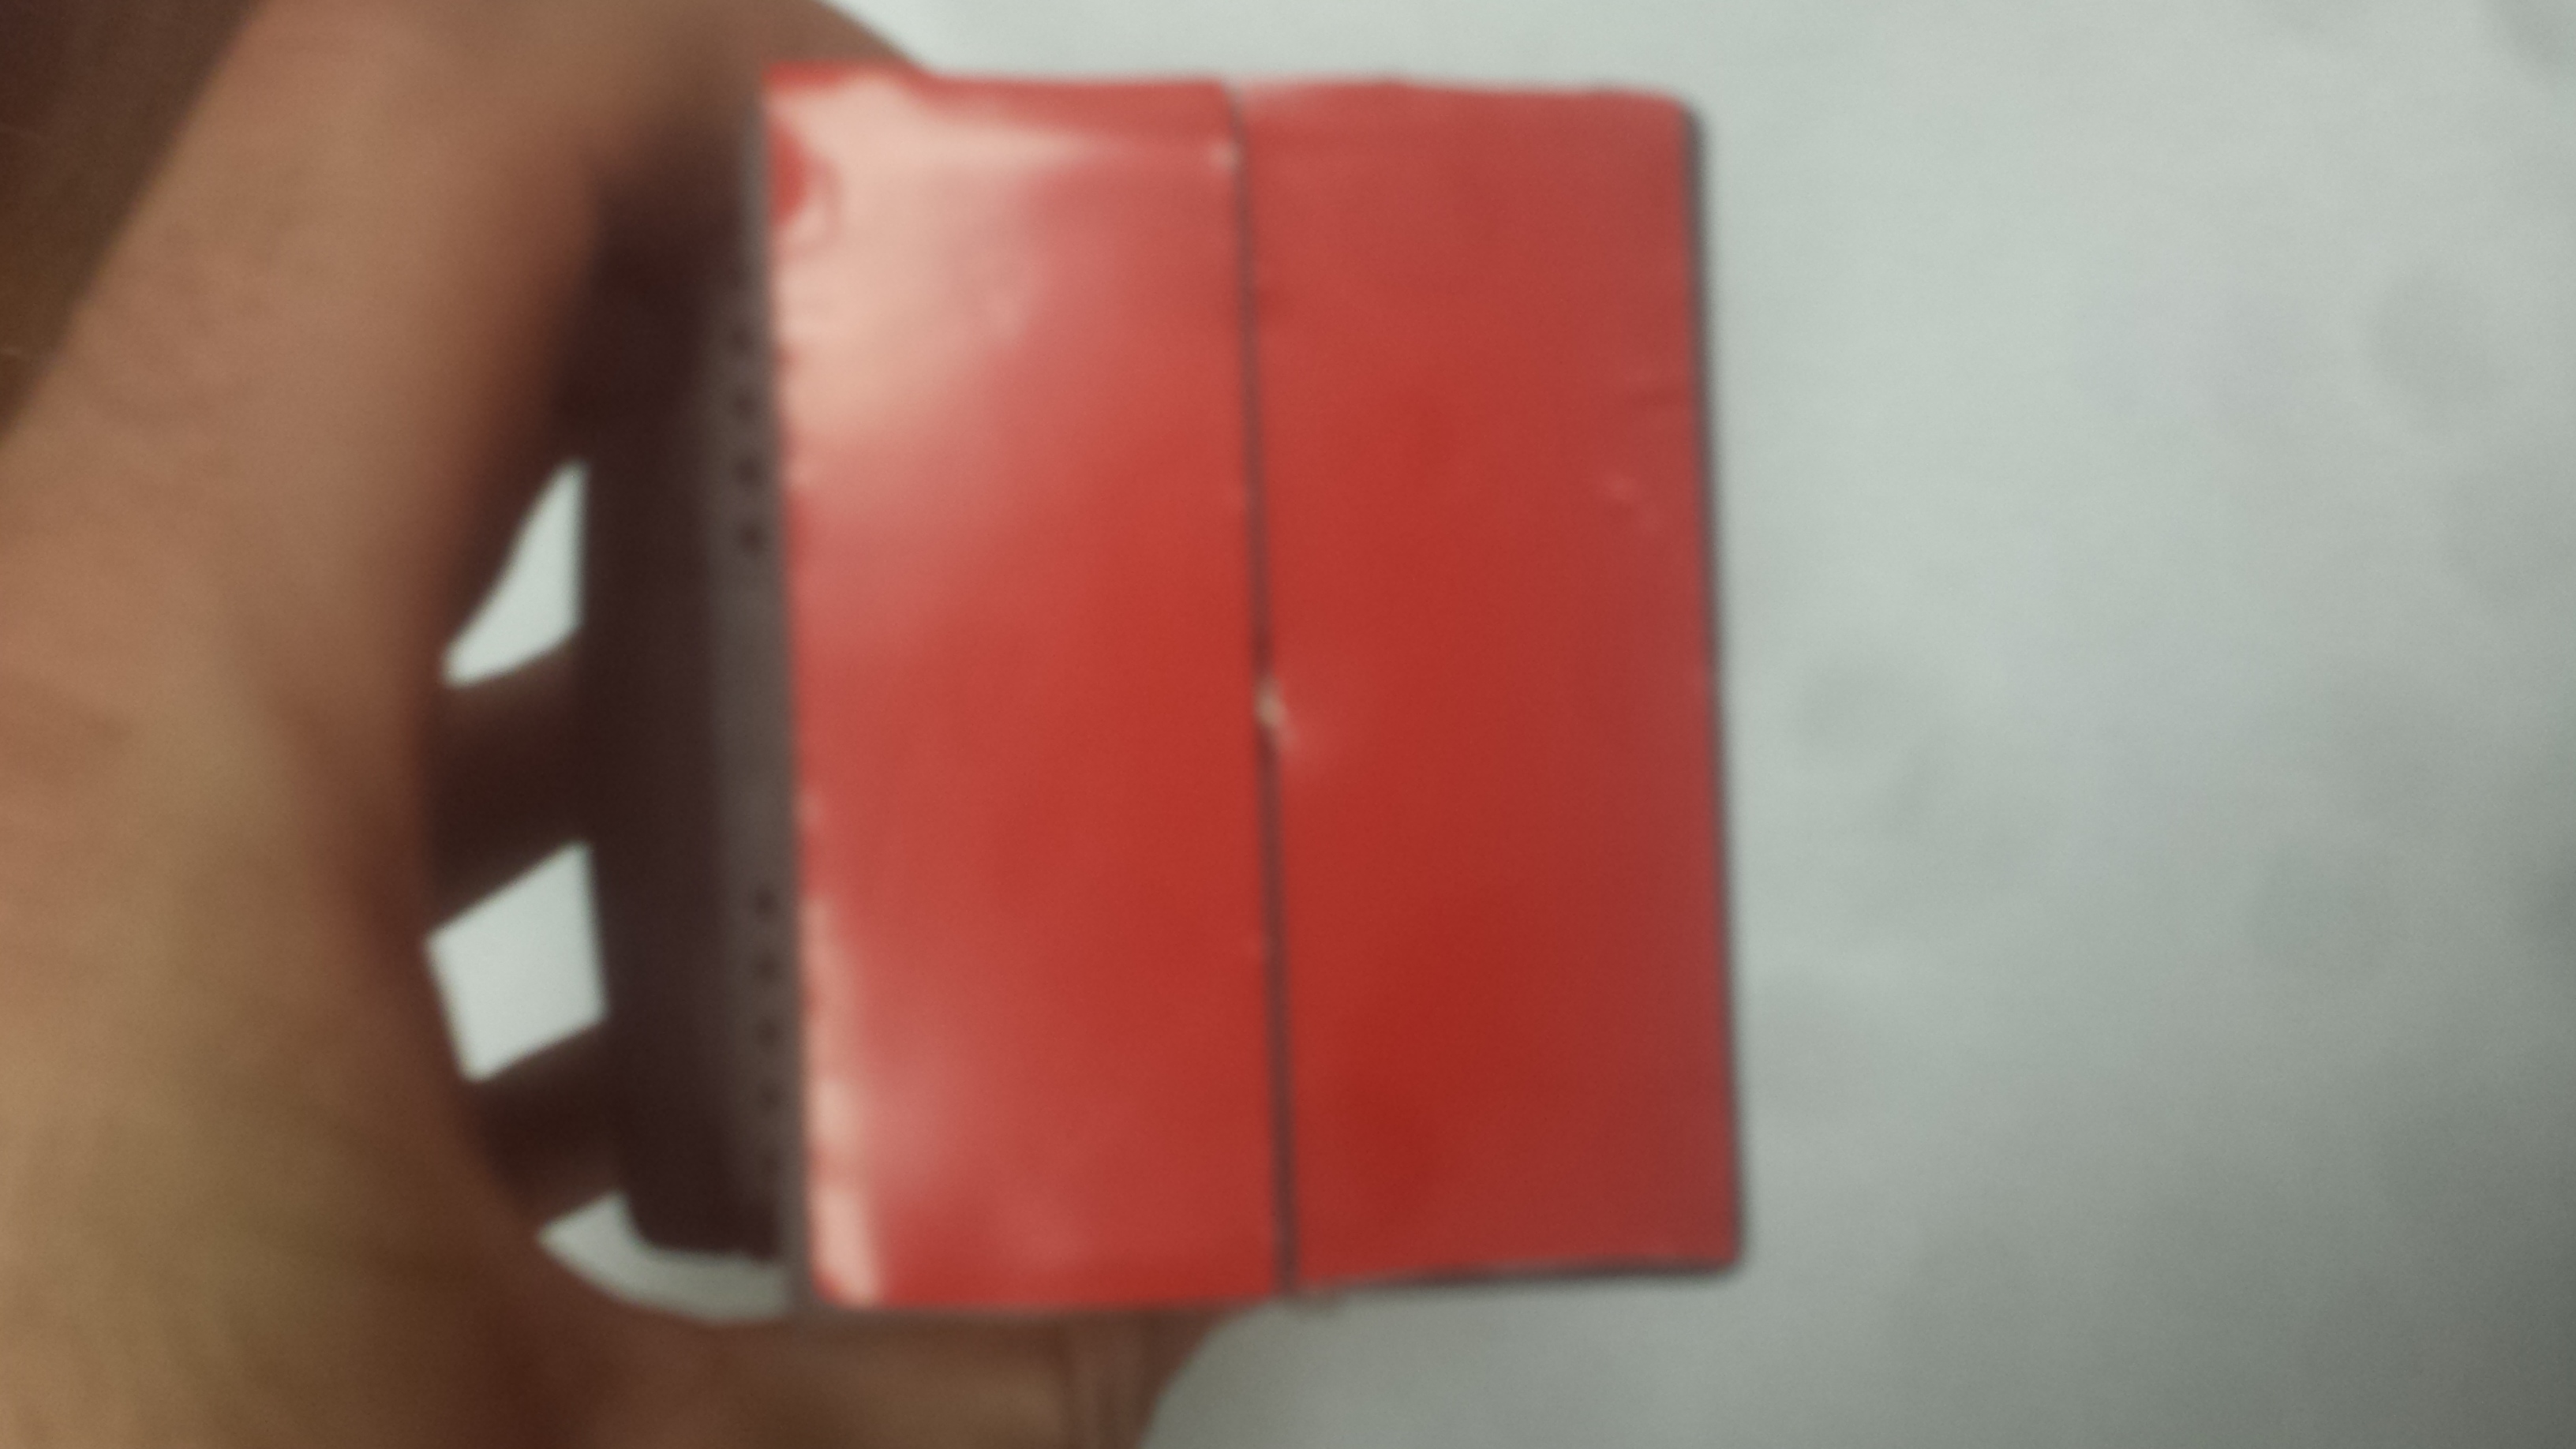
| 3M Adhesive Tape |
| Screw for Support attachment to Spur |
| Washer for Support Screw |
| Hex nut for Support Attachment |
1. Assemble Windshield Support Base Assembly (Windshield support not attached to the camera until after final test or else the power connector would be inaccessible
- Snap plastic back plate into support
- secure with screw
- Apply 3M tape and trim flush with scalpel
