Manufacturing:X2 Secondary Configuration/Testing
Idrive X2 Secondary Testing (Bi-Color LEDS, Accelerometers, IR LEDs, Wifi Transfers, GPS, labeling)
Note:The Idrive X2 programmer may also be used to perform this portion of the programming provided a wireless router is configured and connected to the system. For better throughput and to reduce the number of wireless networks in a factory environment it is recommended that the X6 Fixture be used. Because this document is intended to support production the X6 Fixture process is shown here.
<br\>
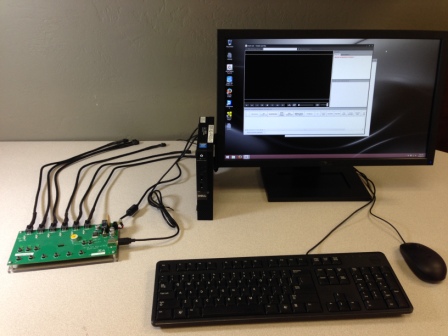
Idrive X2 Secondary/Final Test Station Setup
<br\>
Stage 2 Initialize X6 Fixture
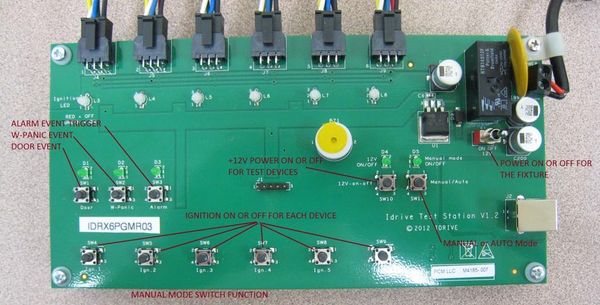
1. Turn on the power toggle switch of the X6 Fixture
2. Connect up to 6 cameras into the x6 programmer using the 6 pin power cables
3. Press any one of the 6 Ignition push buttons to turn on the test cameras
4. When the X2 device's LED are Green/Green the camera is ready to test.
<br\>
Test X2 Internal Accelerometer function
1.Gently shake each camera to trigger a shock event
- Right LED will turn red. Both LEDs green after event finishes recording.
- Alarm/W-Panic and Door events may be triggered by pressing the corresponding push button. (these events are tested in at the first test station so this is optional)
<br\>
Transfer the event(s) to the Test Station
1. Press any one of the 6 Ignition push buttons to initiate transfer of events to the test station.
Verify the Events in Factory Tool
1. Factory Tool verify that each camera downloads
- - Red text is bad (Camera transfered but no shock event was downloaded or failed GPS Data)
- - Black text is good (Camera is pending the label printing process)
- - Green text is good (Passed Accelerometer, GPS and Label application)
- - No text (camera did not download to test station. WiFi failure?)
<br\><br\>
Print Serial Number, Barcode, MAC Address Labels
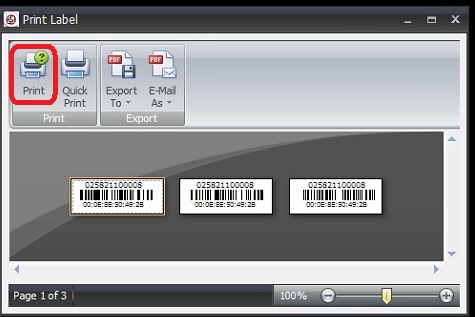
If the transfer(s) and tests are successful Labels for the device can be printed. You must print the labels within 240 seconds* or the tests must be rerun.
- *This timeout length can be changed by Idrive if needed to help with process flow.
Click on "Print(230sec until close)" link to start the print dialog
- When Print is selected the corresponding Camera will flash its LEDs: GREEN/GREEN OFF/OFF RED/RED ... repeat
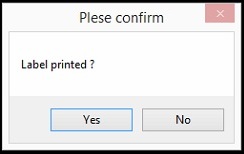
- You must confirm the label Printed and was attached to the camera before the next Camera can have the label printer.
Click on "Quick Print"
Click On Confirm Label printed if successful.
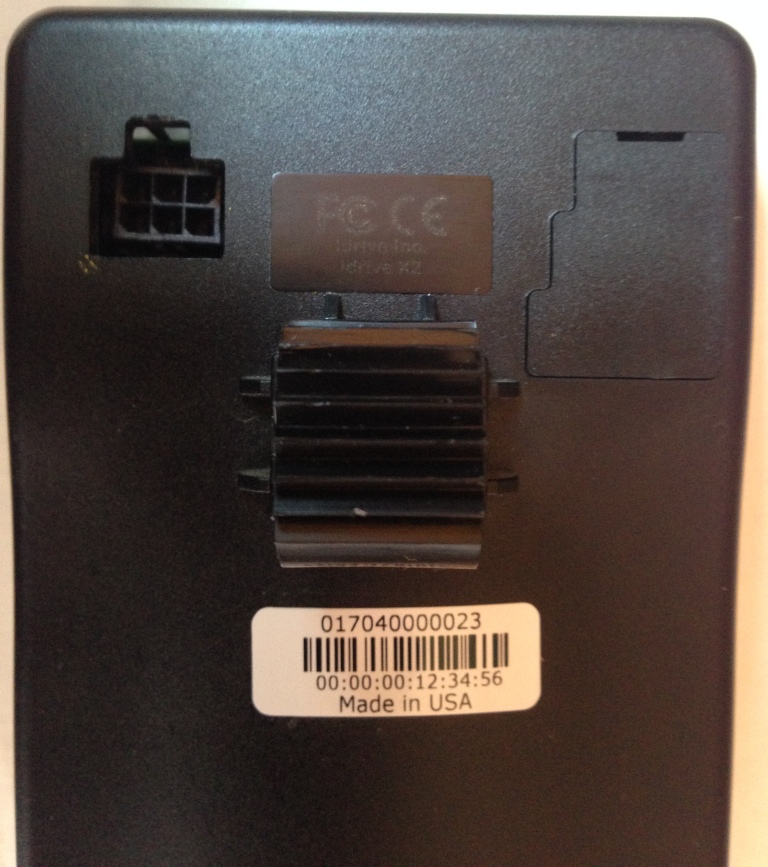
Tear-off the three labels from the printer. Place one Label on the back of the camera covering the case screw as shown. Advance the remaining two labels to Final Assembly/ Packaging.
<br\>
