Difference between revisions of "Idrive Viewpro User Guide"
| Line 45: | Line 45: | ||
[[File:ViewProLayout.jpg|600px|]] | [[File:ViewProLayout.jpg|600px|]] | ||
| − | ''' | + | '''Option Settings''' |
| − | Use the | + | Use the Option settings window to control ViewPro settings. The Option settings are accessed by Setup>Option |
| − | [[File: | + | [[File:Setup_option_new.jpg|400px|]] |
==User Manage== | ==User Manage== | ||
Revision as of 23:52, 25 January 2013
ViewPro User Guide
Copyright Information
This document contains proprietary information that is protected by copyright. No part of this document may be photocopied, reproduced, or translated to another language without the prior written consent of Idrive, Inc.
Copyright © 2013 Idrive Inc.
This product incorporates copyright protection technology. Use of this copyright protection technology must be authorized by Idrive Inc. Reverse engineering or disassembly is prohibited.
The information in this document is subject to change without notice.
About ViewPro
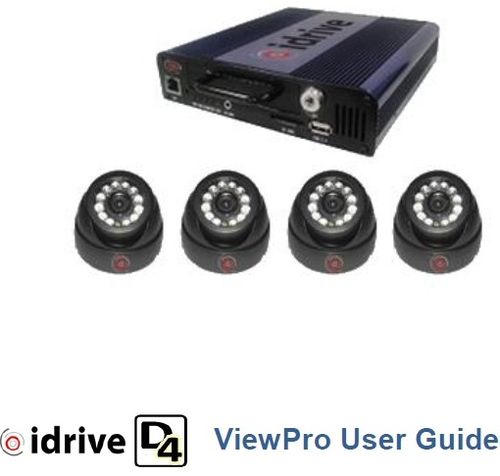
The ViewPro software is used for configuration and management of the idrive D4 DVR system over the Network port on the front of the unit. This eliminates the need for a video terminal. ViewPro is the preferred method for transfer of videos from the DVR over removal of the hard drive.
Starting ViewPro
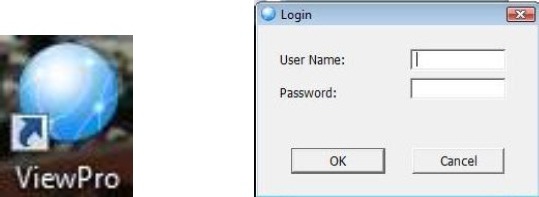
The first time you start ViewPro by double clicking the ViewPro icon on your desktop you will be prompted for a user name and password.
Unless you have previously created users, the User Name and Password are blank. Once you have created a user(s) a user name and password will be required. (User names and passwords are case sensitive)
Option Settings
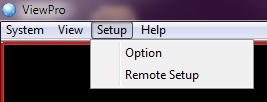
Use the Option settings window to control ViewPro settings. The Option settings are accessed by Setup>Option
User Manage
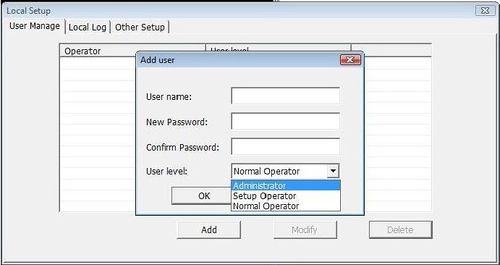
Adding users is not required but is advised. This will allow for control of who has access to your DVR settings and Videos. There are three types of users: Administrator, Setup Operator and Normal Operator.
Administrators have full control of all system functions.
Setup Operators have permission to change the settings of the idrive D4 but no access to the Explore View
Normal Operators have permission to manage videos but not make configuration changes.
To add a user click on Add, enter the user name, password and User Level and click OK. You must create an Administrator before any other user so that you are not locked out of the program. For Deletion or Modification of a User select the User and click on Modify or Delete.
Local Log
Displays the system log file.
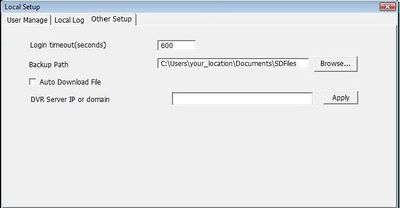
Other Setup
Set the Backup Path (location Videos will be downloaded to)
Checking the Auto Download File box immediately copies ALL videos from the DVR currently connected. (This is may be a large volume of data. It is recommended that you download only specific videos of interest)
DVR Server IP or Domain is not used at this time.
Add DVR(s)
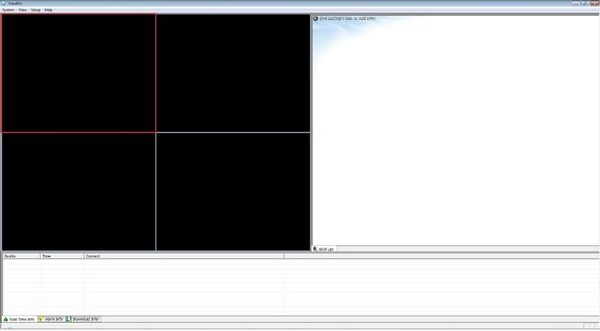
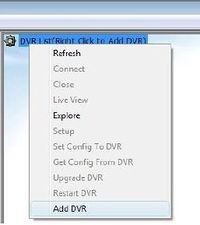
You must enter the idrive D4 DVR information into ViewPro. Right click on DVR List and select Add DVR. The default address for the Idrive D4 is 192.168.0.220. Since you typically would only be connecting to one DVR at a time, one DVR entry can work for your entire fleet. The video files have the individual serial numbers encoded in them to differentiate the unit they were captured by.
Enter the information for the idrive D4 and click OK.
DVR Name- Your choice
IP Address- 192.168.0.220 (Default)
Ensure your network card is set up to work with the 192.168.0.x subnet. Plug a cat5 cable into the Network ports of the D4 and the computer and you should be ready to connect.
Remote Settings
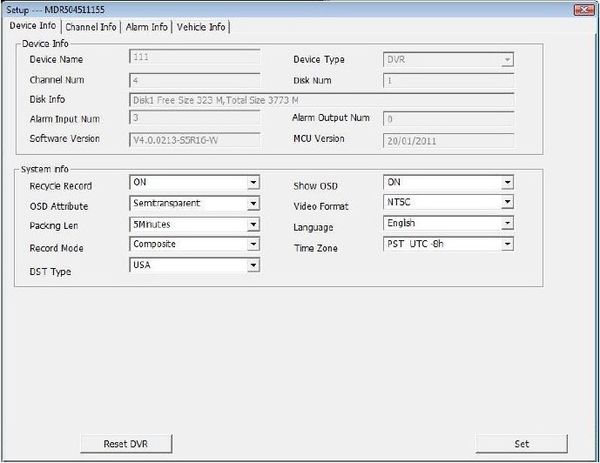
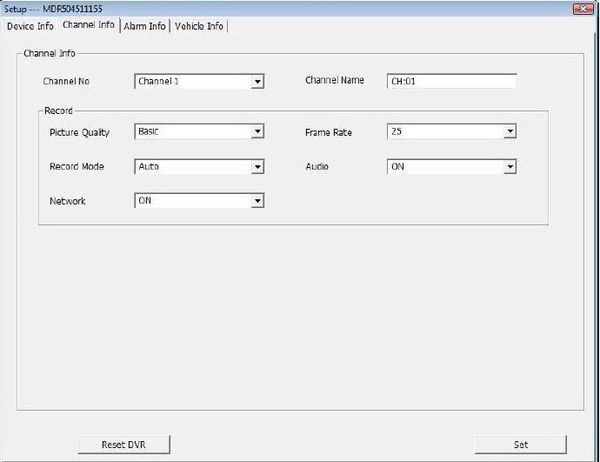
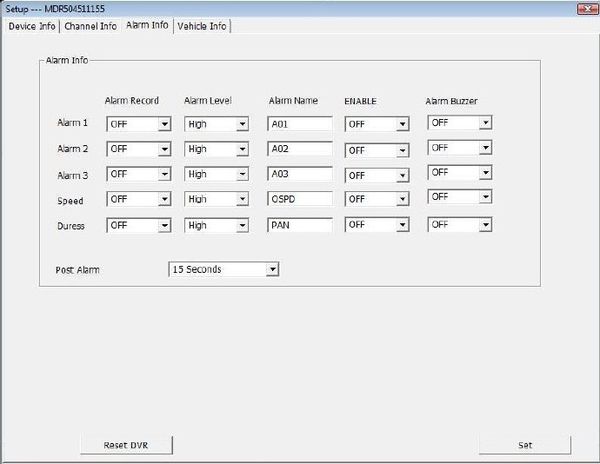
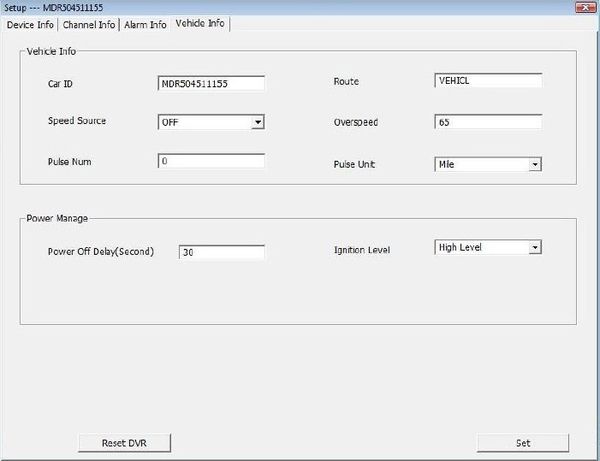
Use the Remote settings window to review or change the settings on a connected DVR. The Remote settings are accessed by Setup>Remote Setup (To connect to a DVR Double click on a DVR from the list). The settings match those in the onboard DVR Menu system. For details on settings please reference the Idrive D4 user Guide.
After changing the desired setting(s) click "Set" to save the changes. "Reset DVR" reboots the idrive D4 system.
Device Info View
Channel Info View
Alarm Info View
Vehicle Info View
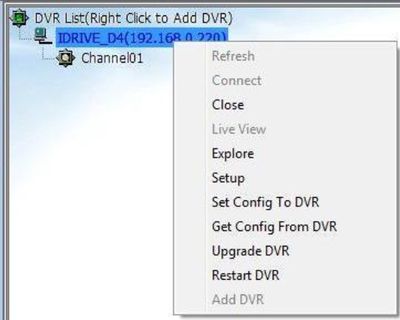
DVR Management
Right Click on the connected DVR and select the function
Refresh : refreshes the DVR List
Connect : connects ViewPro to the DVR
Close : disconnects ViewPro from the DVR
Live View : displays the live video feed in ViewPro
Explore : opens the Explore Window for viewing and management of videos on the DVR
Setup : same as Setup>Remote Setup
Set Config To DVR : Upload a configuration file to the DVR
Get Config From DVR : Save the configuration from the DVR
Upgrade DVR : update of firmware
Restart DVR : Reboot the DVR operating system
Add DVR : used to add a new DVR to the list
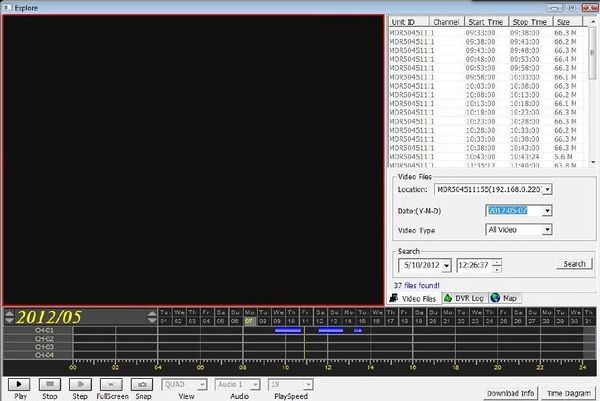
Explore Window
Video Selection
Videos on the connected DVR can be selected by date, time or channel (in separate mode only).
Click on the Hour of Day line over the desired hour to switch to 2 hour time display.
Click on the time again to switch to a 10 Minute display
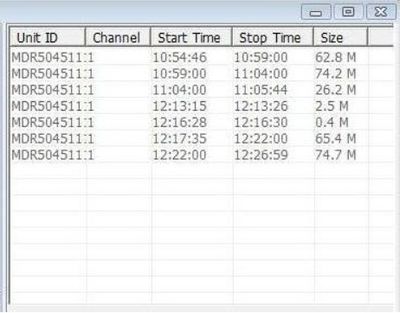
Videos meeting the selection criteria will display in the list
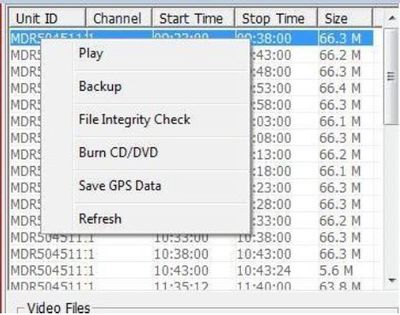
Video Options
Right click on the event to display the options
Play- Plays the selected video in the Event Window
Backup- Copies the video(s) to the path set in Local Setup. A folder will be created like 2012050813 (Year^Month^Day^Hour) in the selected download location.
File Integrity Check- Verifies that the video has no corruption issues
Burn CD/DVD- Obsolete
Save GPS Data- Save the GPS file for the Video to a location
Refresh - refreshes the videos list
Backup Options
Click on the "Download Info" button to switch from the Time Diagram
Select Downloads to show downloads in progress
Select Downloaded to show completed Downloads
