Difference between revisions of "Stonkam D8 Initial Configuration and Setup"
| Line 178: | Line 178: | ||
===Audio Out=== | ===Audio Out=== | ||
| − | To edit the output for the audio channel in split mode | + | |
| + | [[File:stkm_Audio_out.jpg|left|350px|]] | ||
| + | |||
| + | To edit the output for the audio channel in split mode | ||
Select which camera's audio you would like to output. | Select which camera's audio you would like to output. | ||
| − | + | <br><br><br><br><br><br><br> | |
| − | |||
| − | |||
===OSD=== | ===OSD=== | ||
Revision as of 22:29, 2 August 2017
Login
Default user name admin
Default password 123
Main Menu
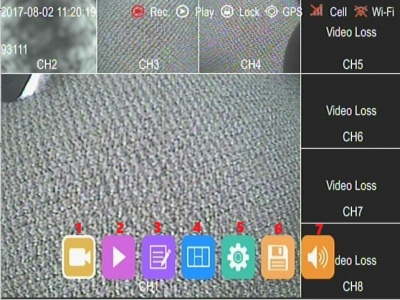
The Main Menu is Displayed by pressing Menu on the remote. If using a touch screen touch the bottom half of the screen.
- 1)**DVR Controls - Rec ord, Play Stop, FF RW
- 2)**Search Videos - Search by date & Time
- 3)**Logs - System & Export Logs
- 4)*Switch Grid view from Channels 1-4, 5-8 or 1-8
- 5)**Configuration Settings - Record,Display, Network & System settings
- 6)**Storage - Manage SSD, SD, USB
- 7)**Volume - Playback Volume
DVR Controls
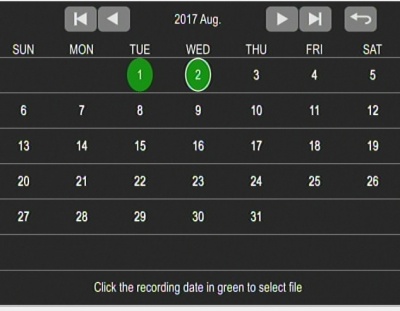
Search Videos
- Select Date
- Select Video
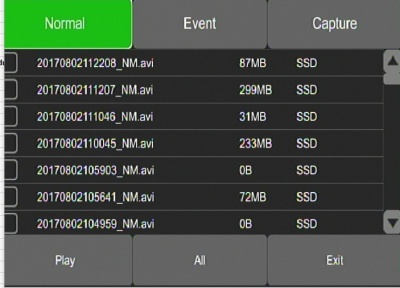
Select and Play Videos
- Normal
- Event
- Captue
- Play
- All
- Exit
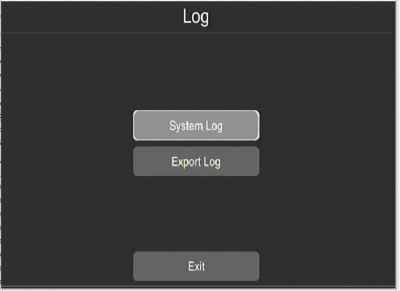
Logs
br>
System Log
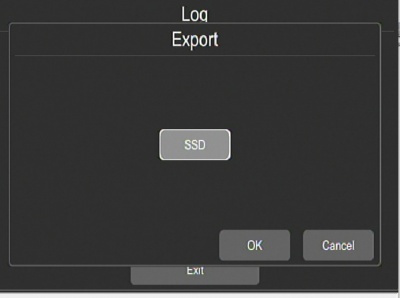
Export Log
Configuration Settings
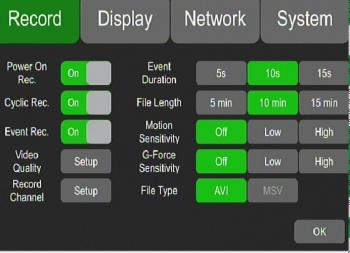
Record
- Power On Rec
- Cyclic Rec. - Overwrite?
- Event Rec.
- Video Quality
- Record Channel - turn on/off recording for each channel
- Event Duration
- File Length
- Motion Sensitivity
- G-Force Sensitivity
- File Type
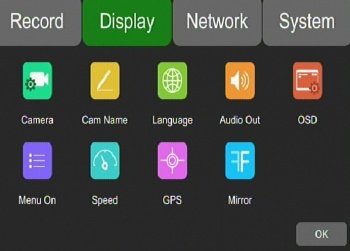
Display
*Camera - Brightness, Contrast Etc for each Camera
*Cam Name - Name of Channel on Display
*Language - Set system Language
*Audio Out - Select Channel Audio to listen to
*Camera - Brightness, Contrast Etc for each Camera
*OSD - On Screen Display Information
*Menu On - How lon Menu is Displayed before logout
*Speed - Speed Settings
*GPS - GPS Location Information
*Mirror - Mirror the Camera Image
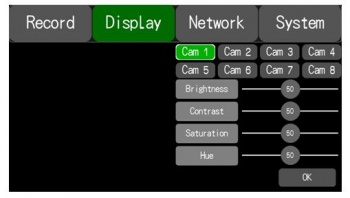
Camera
Navigate to the display tab by hitting Menu->Setup->Display
Here you can choose which camera's settings you would like to alter. Settings include brightness, contrast, saturation, and hue
Cam Name
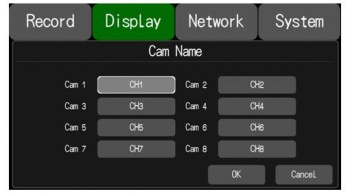
Each camera has its own channel with its own "channel name". This is what you will be changing since the cameras are pre labeled cam1,cam2...etc
Navigate to the display tab by hitting Menu->Setup->Display
Choose which camera name you would like to change by selecting its associated channel name.
This Name will be displayed at the bottom of the screen on each camera individually.
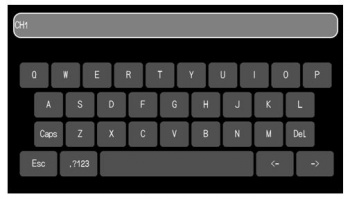
Once the channel is selected a keyboard will pop up, type in the desired name with a maximum of 8 characters and must not be blank
Once you are finished hit escape and check to see if your cameras are correctly named
Language
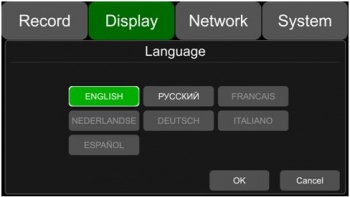
To edit the language of the device access Menu->Setup->Display->Language
Select which language you want from the buttons presented. Languages available are English, French, German, Russian, Japanese, Italian, Austrian
Audio Out
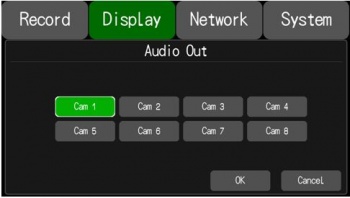
To edit the output for the audio channel in split mode
Select which camera's audio you would like to output.
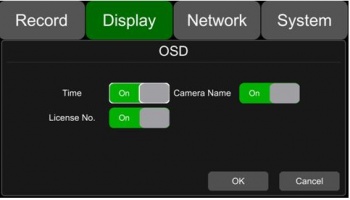
OSD
OSD controls what information gets overlayed on the video of each camera.
Options:
- Time,
- License
- Camera Names
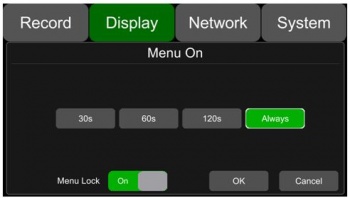
Menu On
Sets the duration of time the menu displays for.
Settings: 30, 60, 120 seconds, or always on.
Can also lock the menu to be password protected.
A password is needed to change this setting
Select the duration of display on time you need, and toggle the Menu Lock option to change it.
Speed
GPS
Mirror
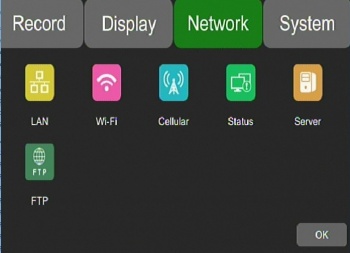
Network
*Lan - Lan Settings
*Wifi - Wifi Settings
*Cellular - Cellular Settings
*Status - Networks Status
*Server - Server Settings
*FTP - FTP Settings
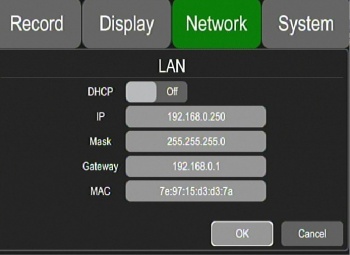
LAN
Defaults:
- IP Address 192.168.100.188 set to 192.168.0.250
- Mask 255.255.255.0
- Gateway 192.168.100.1 set to 192.168.0.1
- MAC Add: 7e:97:15:xx:xx:xx
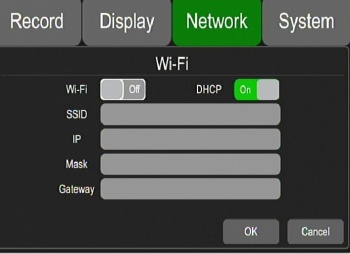
WiFi
N/A - Optional
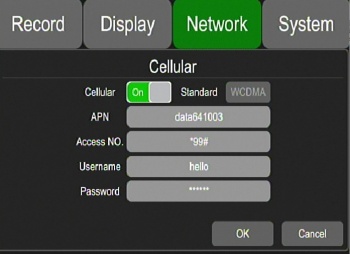
Cellular
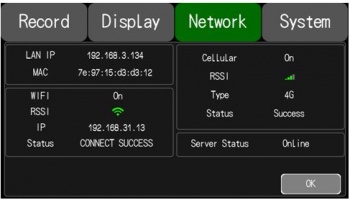
Status
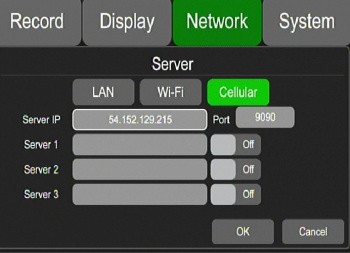
Server
Newdvr.idriveglobal.com IP 54.152.129.215
No DNS? - Need setting for LTI
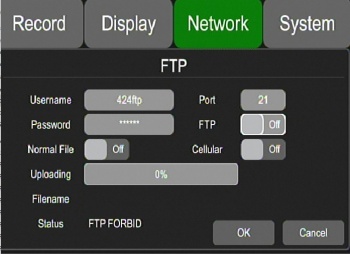
FTP
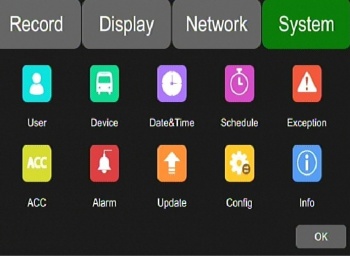
System
*User - Admin only!!!?
*Device - Vehicle ID
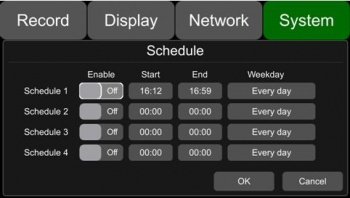
*Schedule - Timed Recording
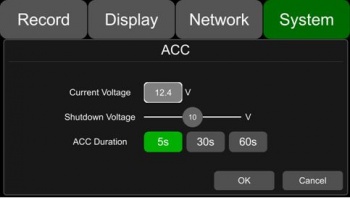
*Acc -
*Alarm -
*Update -
*Config -
*Info -
User
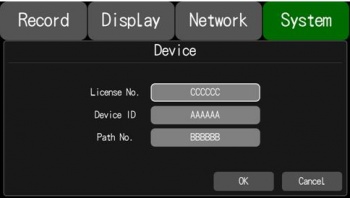
Device
License No. - Default:(AAAAAA)
Device ID - Default:(BBBBBB)
Path No. - Default (CCCCCC)
Date & Time
Schedule
Touch
ACC
Alarm
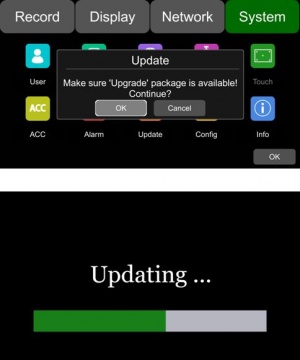
Update
Insert the SD card with the appropriate upgrade files in its root directory.
Navigate to Menu -> Setup -> System -> Update
Hit OK
Wait for Update Success!
Note: To make sure the update was a success reboot the device and navigate to
Menu -> Setup -> System -> Info
Compare the current version to the desired version.
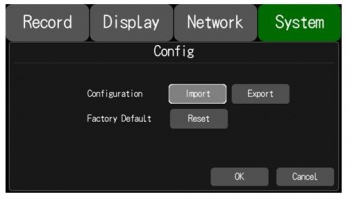
Config
Insert the USB with the appropriate configuration file in its root directory
Select the import button
Info
Storage
Volume
Routine Setup
SSD Operations
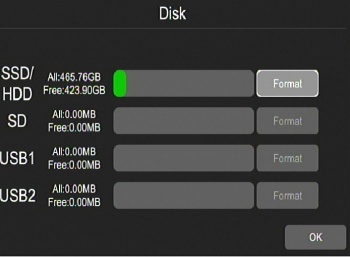
Format
Click on the Floppy Disk Icon on main display
Format SSD (15 seconds for 500GB)
FileSystem windows format not Linux
Filesystem Structure
Log4Gui - ASCII System Log
test_writable - system test if disk read only?
Normal Folder - location where videos are stored
- 20170801 Folder - separate folder for each date
- Video files naming example: 20170801150248_NM_0030_0001_1920_1080_25_04194304_AAAAAA_02.avi
- 2017^08^01^ - Year^Month^Day
- 15^02^48 - Hour^Minute^Second (from start?)
- _NM_0030_0001_1920_1080_25_04194304_ Figure this out
- AAAAAA_02 - Vehicle_Channel
Hard Disk Installation
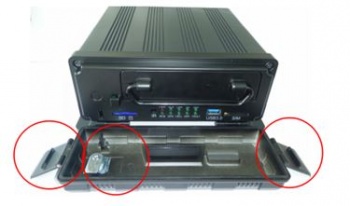
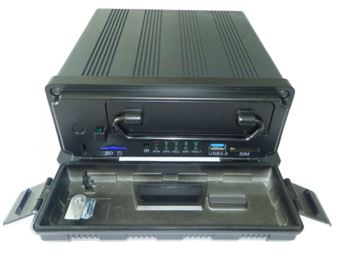
Step 1: Unlock the device with its key, and open the two side flaps on the front panel. Pull the front plate from the top down as shown.
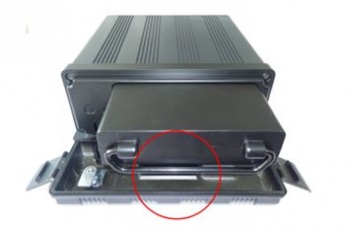
Step 2: Pull the hard drive sled out by its attached ring
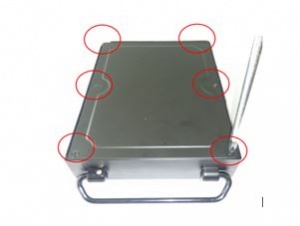
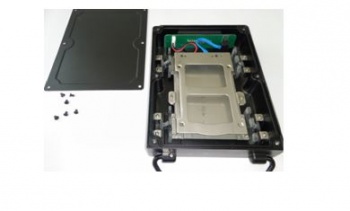
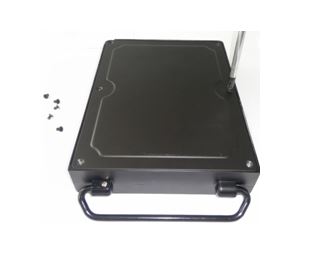
Step 3: Remove the six screws that hold the hard drive sled together carefully with a screwdriver. Once these screws are off the whole bottom plate should be removed.
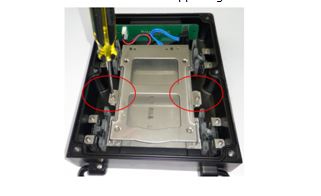
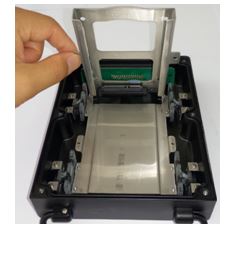
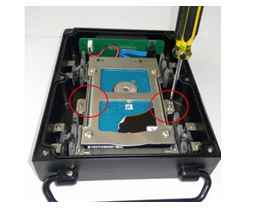
Step 4: Remove the two screws on the silver hard drive support shelf. Once these are removed pull the top of the shelf up as illustrated.
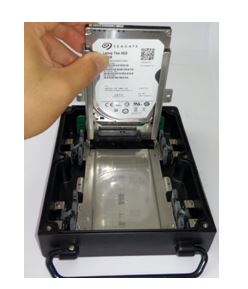
Step 5: Slide the new hard drive into the enclosure making sure a solid connection is made with the hard drive.
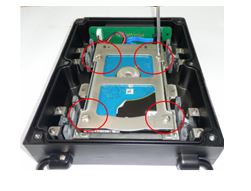
Step 6: Fold the hard drive shelf back down into its resting position and secure the 4 hard drive mounting screws in place. These hard drive mounting screws come from the device's accessory pack
Step 7: Lock the hard drive shelf into place with the 2 securing screws from step 4 as shown in the image below
Step 8: Reinstall 6 Hard drive Sled screws that secure its bottom panel.
Step 9: Slide hard drive sled back into the D8 securely
