Difference between revisions of "3G DVR User Manual"
| Line 205: | Line 205: | ||
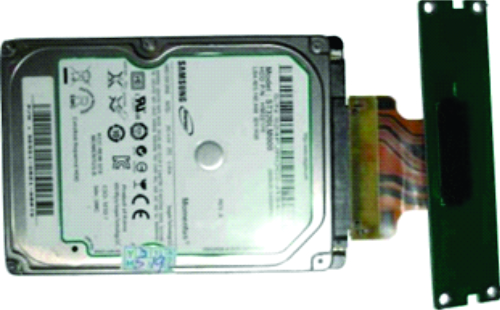
==Connect the SATA board with the SATA hard disk== | ==Connect the SATA board with the SATA hard disk== | ||
| + | |||
| + | [[File:Hdd install4.jpg]] | ||
| + | |||
==Put the SATA hard disk into the shockproof case== | ==Put the SATA hard disk into the shockproof case== | ||
==Fasten the hard disk tghtly bt another 4 screws== | ==Fasten the hard disk tghtly bt another 4 screws== | ||
Revision as of 12:12, 10 January 2013
Product Introduction
Product Summary
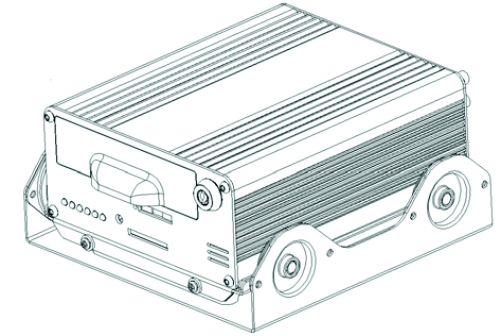
The DVR (Automotive) is a cost-effective, functional and scalable device designed for video surveillance of your mobile assets. It uses a high-speed processor, an embedded Linux platform and combines the most advanced IT processes(H.264 Video Compression/Decompression, 3G and GPS positioning technology) and the best Product structure design(Double shockproof ). DVR enables CIF, HD1 and D1 video formats to record. The DVR can be record drivers' many driving information, such as driving route/speed/video/audio and others, recording data are uploaded to HDD or SD Memory Cards. A DVR centric software platform (CMS) can be realized with links to a Central Alarm monitoring system for remote management and playback analysis, It's make company or personal very easy to manage the vehicles. The DVR may look simple in its exterior design, provides powerful auto black box features, installation flexibility and high reliability.
Main Parameters
| Items | Parameters | Specifications |
| System | Language
OSD Password |
Chinese/English
Graphical User interface(OSD menu) Users Password/ Administrator Password |
| Vision | Video input
Video output Preview Recording Ratio Image Compression |
4-CH video input 1.0Vp-p,75Ω
1-CH video output 1.0Vp-p,75Ω Support 1 channel or synchronous 4 channels preview. PAL -25 Frame/s NTSC -30 Frame/s H.264 Main profile |
| Audio | Audio input
Audio output Recording mode |
4-ch Audio input 600Ω
1-ch Audio output 600Ω Audio & Video sync. |
| Image processing & storage | Video format
Video stream
Audio Bitrate Storage |
4-ch CIF: 25fps, 4-ch HD1: 25fps, 1D1: 25fps + 3CIF: 25fps
ISO14496-10 CIF: 1536Kbps ~ 128Kbps,6 levels optional. Highest:1 level HD1: 2048Kbps ~ 380Kbps,6 levels optional. Highest:1 level D1: 2048Kbps ~ 400Kbps,6 levels optional. Highest:1 level 4Kbytes/s SATA 2.5’’ hard drive (support to 2T)and SD card storage(support to 64GB) |
| Alarm | Alarm input | 4 switching value |
| Wireless Transmission | 3G(EVDO/ WCDMA) | Built-in 3G(EVDO / WCDMA) module |
| GPS | Built-in GPS module, Geographic co-ordinates, speed can be read in coding flow,and can be wireless uploaded. | |
| Software | Analysis of PC playback
CMS |
Video playback on PC,and analysis the vehicle info in the file.
Video preview via GPS upload、alarm upload, central command and parameters configuration, etc. |
| Upgrade | Support SD cards upgrade. | |
Main Functions of the Product
| Function | Functions description |
| Recording | 1. Support four video mode: Manual recording, time recording, motion detection recording, Alarm recording
2. Support 1 channel D1 or synchronous 4 channels CIF recording. 3. Support PAL System and NTSC System. 4. OSD overlay recording, such as time, Bus No., Channel’s name, Stops information etc 5. Support HDD and SD Card storage recording. 6. Support HDD and SD Card circulating record. |
| Preview | Support 1 channel D1 or synchronous 4 channels CIF preview. |
| Playback | 1. Support 1 channel playback
2. Support 4 channels playback 3. support play, pause, frame into, slow play, fast forward, upper section, next section and mute function 4. Video/File retrieval: Support time retrieval, channels retrieval and video type retrieval. |
| Alarm | Support local signal alarm, motion detection alarm and abnormal alarm. |
| Information record | Support Vehicle No, driving route, device No record. |
| ON/OFF Control | 1. Support fixed timing starting up and shutdown
2. Support Car Key (ACC) switch or ACC delay switch. |
| Upgrade | Support automatic upgrade and manual upgrade |
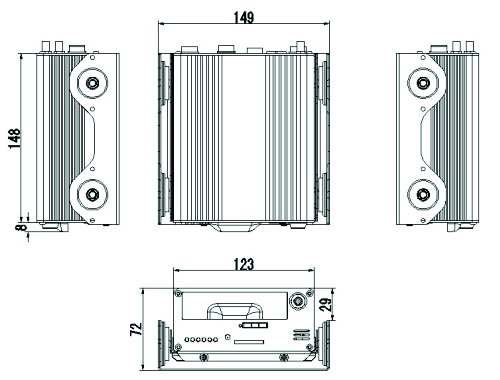
Diagram Specification
MDVR Installation
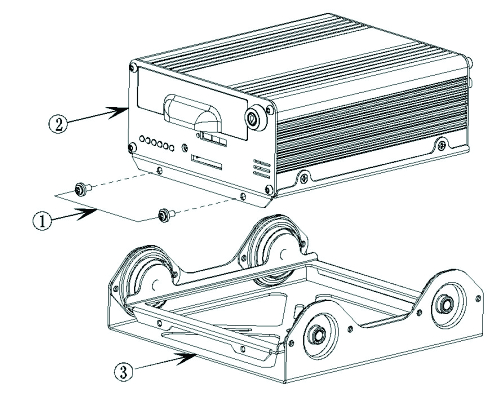
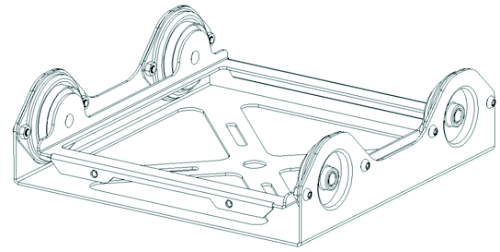
Set the main unit and shockproof mount apart
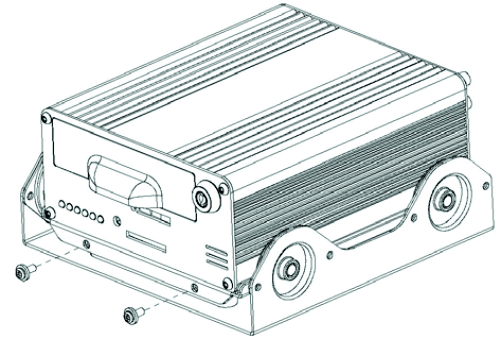
Unfasten the two main screws of the DVR with a screw driver and remove the shockproof mount.
Install the shockproof mount
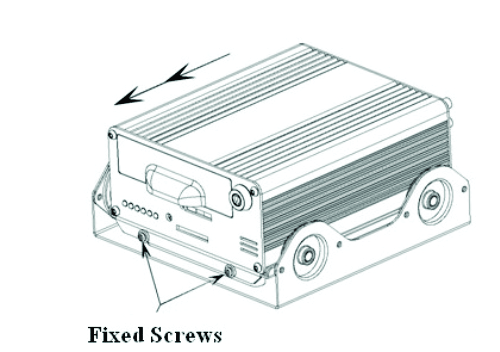
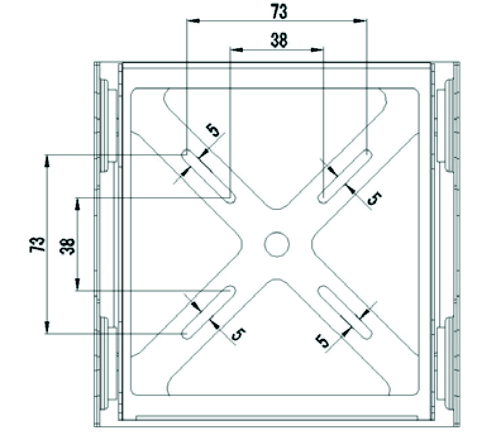
Please installed the shockproof mount on an appropriate place (under the front Passenger’s seat or other side / wherever convenient)
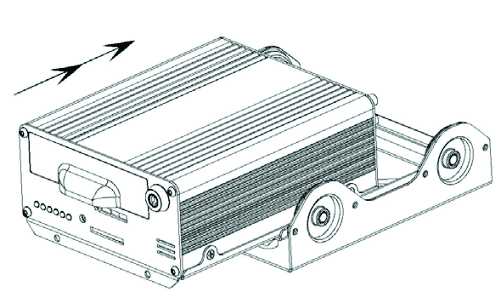
Install the DVR into the shockproof mount again, and fixed screws
Hard disk installation
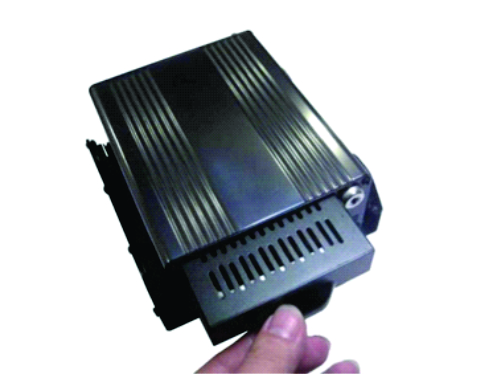
Remove the HDD case from the DVR
Turn the key to off state, and remove the HDD case.
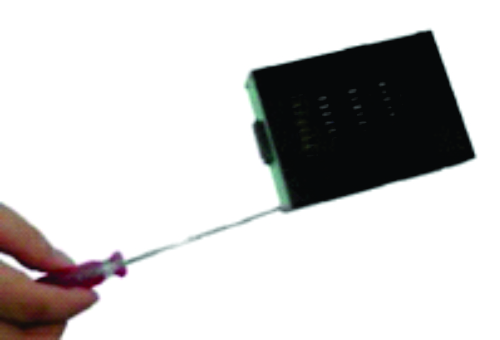
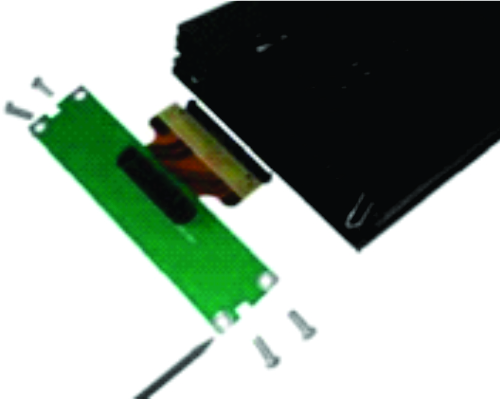
Take the SATA connector out from the HDD Case
Remove the 4 screws on the backside of he hard drive case, then take the SATA connector out from the hard drive case.
