Difference between revisions of "AI RMA Documentation:AI AI Power Connector Reflow/Repair"
Jump to navigation
Jump to search
(→Repair) |
(→Repair) |
||
| (5 intermediate revisions by the same user not shown) | |||
| Line 27: | Line 27: | ||
[[File:ai_pwr_twisted.jpg|300px|left|]][[File:ai_pwr_twisted2.jpg|250px|]] | [[File:ai_pwr_twisted.jpg|300px|left|]][[File:ai_pwr_twisted2.jpg|250px|]] | ||
| − | + | <br><br> | |
*Clear the leads and solder from the holes | *Clear the leads and solder from the holes | ||
| + | |||
| + | ::<span style="color: red"> '''One of the holes may not clear because it is connected to the ground planes. | ||
| + | |||
| + | ::<span style="color: red"> '''Just clear the others,when the connector is inserted just reheat the solder that is still in the Gnd hole hold the new connector in place and heat that pad until the connector is fully seated on the board. | ||
[[File:ai_pwr_clearholes.jpg|300px|left|]] | [[File:ai_pwr_clearholes.jpg|300px|left|]] | ||
| Line 36: | Line 40: | ||
*Heat each of the leads/pads on the opposite side of the board and remove the leads with tweezers. | *Heat each of the leads/pads on the opposite side of the board and remove the leads with tweezers. | ||
| − | + | * Tin the pads on the connector side of the board so they will take solder (use flux). | |
| − | *Clear the solder in the holes using solder wick. Be careful not to overheat the board or the pads might come off | + | *Clear the solder in the holes using a solder sucker or wick. Be careful not to overheat the board or the pads might come off |
| − | + | Remove the solder from 5 holes and as much as you can from the ground hole. | |
| − | + | *Clean the area with alcohol and Q-tip | |
| − | + | <br><br><br><br><br><br><br><br><br><br> | |
| − | |||
*Apply a small amount of flux to the pins on the replacement connector | *Apply a small amount of flux to the pins on the replacement connector | ||
Latest revision as of 21:45, 17 July 2020
AI Power Connector Reflow/Repair
The first batch of 1000 AI cameras have substandard soldering on the power connectors and these need to be reflowed.
Reflow
It is not necessary to to remove the board from the case to reflow the connector
- Reflow the connector pins
- -apply flux to the pins
- -solder the pins, ,heat the ground pin for a really long time to get the solder to flow down the barrel
- -Clean the area with alcohol and Q-tip
Repair
Also the connector can be broken off by over tightening the power cable or tampering in the field and may need replacement.
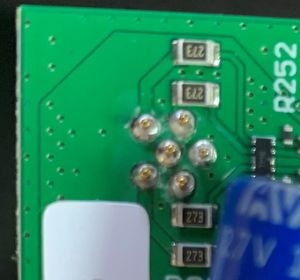
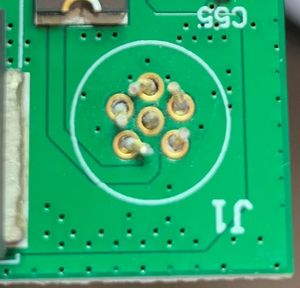
- If the connector is broken off snip the bent leads on the connector side so they are flush with the board
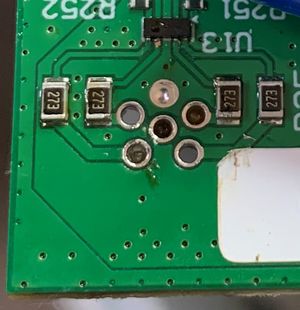
- Clear the leads and solder from the holes
- One of the holes may not clear because it is connected to the ground planes.
- Just clear the others,when the connector is inserted just reheat the solder that is still in the Gnd hole hold the new connector in place and heat that pad until the connector is fully seated on the board.
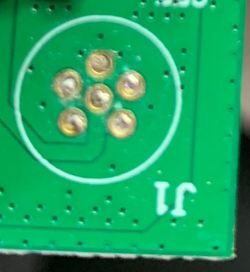
- Heat each of the leads/pads on the opposite side of the board and remove the leads with tweezers.
- Tin the pads on the connector side of the board so they will take solder (use flux).
- Clear the solder in the holes using a solder sucker or wick. Be careful not to overheat the board or the pads might come off
Remove the solder from 5 holes and as much as you can from the ground hole.
- Clean the area with alcohol and Q-tip
- Apply a small amount of flux to the pins on the replacement connector
- Align the new connector and heat the ground pin melting the solder and seat the connector.
- Solder all of the pins
- Clean the area with alcohol and Q-tip


