Difference between revisions of "Admin"
| (35 intermediate revisions by the same user not shown) | |||
| Line 121: | Line 121: | ||
| − | This option can cause issues | + | This option can cause issues and it can be changed from '''/wp-content/themes/Adityarise/assets/custom_post.php'''. See [[Design#custom_post.php | how to change slug here]] in the [[Design]] section. |
==Media== | ==Media== | ||
| Line 300: | Line 300: | ||
|[[File:Dropdown.png]] | |[[File:Dropdown.png]] | ||
| − | Pages as "Idrive System" or "Products" have a more complex menu. For that we must create a custom menu for each post (see section [[#Menus|Menus]] and then select the custom menu from dropdown list. | + | Pages as "Idrive System" or "Products" have a more complex menu. For that we must create a custom menu for each post (see section [[#Menus|Menus]]) and then select the custom menu from dropdown list. |
|- | |- | ||
| − | |[[File: | + | |[[File:show_on_id.png]] |
| + | |Unfortunately the plugin does not recognize the custom posts as pages, only as category and to show particulary custom menu on particulary custom post we must enter the "Post ID" of which post we want to appear the custom menu. | ||
| + | |||
| + | |- | ||
| + | |[[File:Widget footer.png]] | ||
| + | |[[File:Footer.png|780px]] | ||
| + | Those widgets appear on website footer. As you can see I used "Content Block" [[#Plugins|Plugin]] to create an html custom menu. You can also add pictures or another custom menu. | ||
| + | |||
| + | |- | ||
| + | |[[File:Slideing widget.png]] | ||
| + | |[[File:Slideing area.png]] | ||
| + | |||
| + | |||
| + | Those widgets will edit the slider from homepage header. Here also I've used "Content Block" [[#Plugins|Plugin]]. | ||
| + | |||
| − | + | [[File:Slid.png]] | |
| − | |||
|} | |} | ||
</div> | </div> | ||
===Menus=== | ===Menus=== | ||
| + | |||
| + | This is the menu structure of our website. To add Pages or Post in meniu you can easy check the box of the desired page then "Add to Menu". After that the Post it will appear on the bottom of the page and from there you must drag and drop on the desired location. A page below another indicates a submenu so you can create as many submenus you like. | ||
| + | To create a "Custom Menu" you must click on plus sign and then to add pages inside. After you will save your custom menu, this will be available on "Custom Menu" Widget. | ||
| + | |||
| + | <center>[[File:Menu.png]]</center> | ||
===Editor=== | ===Editor=== | ||
| + | |||
| + | |||
| + | This is an html and php editor but I do not recommend it because once you update the file there is no turning back. | ||
==Plugins== | ==Plugins== | ||
| + | |||
| + | Here are all the installed plugins. Each plugin has a description so please read the description first. | ||
==Users== | ==Users== | ||
| − | + | From this category we can create new users. | |
==Settings== | ==Settings== | ||
| + | |||
| + | |||
| + | From this category we won't change to much. | ||
| + | |||
| + | ===General=== | ||
| + | |||
| + | We can change the site title just as we can change in Appearance-Template. | ||
| + | |||
| + | '''DO NOT CHANGE THE URL. This will spoil the database.''' | ||
| + | |||
| + | The rest of the options are default. | ||
| + | |||
| + | ===Reading=== | ||
| + | |||
| + | From here the "Front page displays" box must be checked on "A static page" and the front page must be "HOME". | ||
| + | |||
| + | ===Permalinks=== | ||
| + | |||
| + | Parmalinks are set to "Post name" for a better view and a better index in google. | ||
==Shortcodes== | ==Shortcodes== | ||
| + | |||
| + | |||
| + | Just like "Content Block", instead useing massive html code you can easly use shortcodes. | ||
| + | |||
| + | <center>[[File:Shortcode.png]]</center> | ||
| + | |||
| + | |||
| + | You can insert shortcode from media toolbox or you can easly write the shortcode like this: <nowiki>"[sws_3_columns_lastnotitle]"</nowiki>. You can create shortcode useing html or javascrip code and you can add in posts with a single line <nowiki>[the_name_of_the_shortcode]text[/the_name_of_the_shortcode] </nowiki>. This is very useful and by default the theme has installed several shortcodes which I have used and that I will show in [[#Design|Design]]. | ||
| + | |||
| + | |||
| + | <center>[[File:Sws shortcode.png]]</center> | ||
Latest revision as of 14:48, 3 December 2012
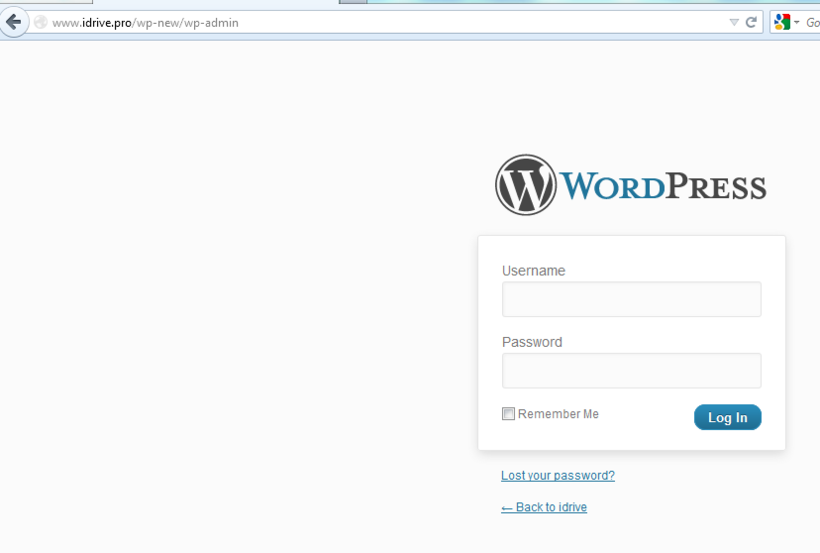
"How to login?"
Enter url: http://www.idrive.pro/wp-new/wp-admin and fill the admin box with "admin", password box with "test1234" and hit enter.
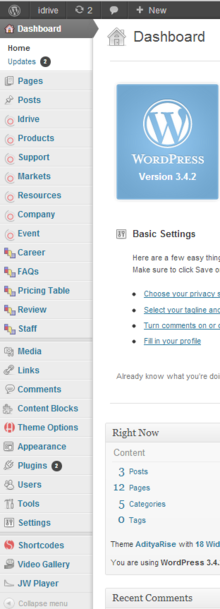
This is the admin page.
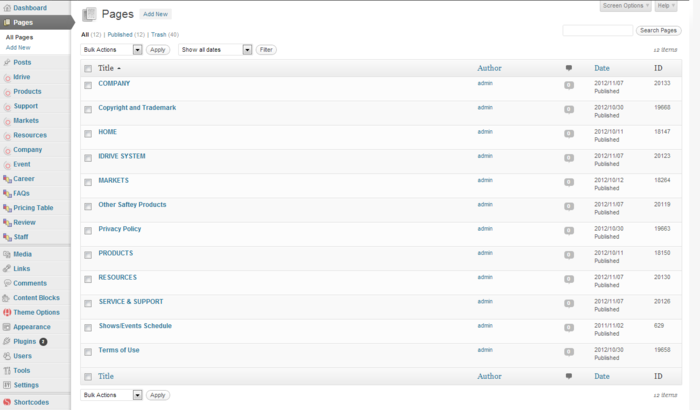
Pages
The "Pages" section contains the most important pages like "Home", "Idrive Sytem", "Products", etc.
| Company
Copyright and Trademark Home Idrive system Markets Privacy Policy Products Resources Service & Support Terms of Use |
For the beginning I will choose "Quick edit" from "Company" as example.
From this section you can quick change title, parent, template, allow/deny comment by check/uncheck the box, makeing the page private, visible just for admin same as comments by checking or unchecking the box.
Also you can change the "Slug", this option will automatically change the URL and will affect external and internal links
To avoid changes in the internal links, you can use "Page ID" as URL
For example, instead of <a href="http://www.idrive.pro/wp-new/company/">Company</a>, you can use <a href="index.php?p=20133">Company</a>, where "20133" is the "Page ID" for "Company". This will not affect internal links by changeing "Slug" unless you will delete the page.
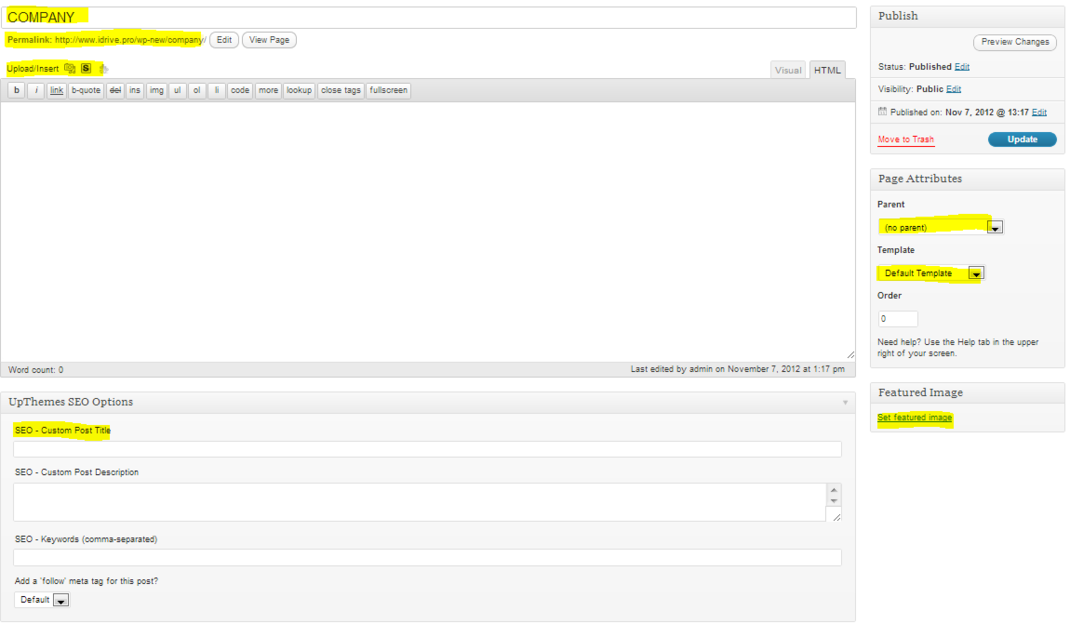
Next I will choose "Edit" from "Company".
The first highlighted box it will change the name of the page and below you can edit the "Permalink" or "Slug"(as I explained above).
Under "Permalink" we have "Media" toolbox where we can upload/insert photos, Shortcodes", Content Blocks and just below we have an html toolbox which helps to add or edit html code. In the upper right corner of the content area we have two tabs "Visual" and "Html". The "Visual" tab helps to editing the page just by adding photos and text while with the "Html" we can add html code, insert tables or links. Be careful after you write html code and then change the tab to "Visual", Wordpress will delete some html components like <p></p>, <br></br>, html space (  ;), whitespaces and those changes will can spoil your whole page.
In the right side we have three tables, the first table, "Publish" I think is too obvious to be explained like many other Wordpress elements. The "Page Attributes" tab contains three boxes: "Parrent", "Template" and "Order". "Parrent" box it will change the URL by adding the existing URL of the selected page, for example if we choose "Markets" then will we have the following URL: "http://www.idrive.pro/wp-new/markets/company. This option is effective when we work with "Pages" but mostly we work with "Posts" and "Custom Posts". The "Order" box it will help to keep a order in pages by counting them(0 is the first).
From the "Template" box we can choose a specific template for each page. For example, pages like "Home", "Markets" and "Show/Event Schedule" have their own template, template which at their turn having in its structure php and java scripts. Those scripts automatically import and resize picture in page (the page where we will use template) as thumbnail by scanning the custom page to check if we have already a picture imported in page/post or setting a "Featured Image" (below the "Page Attributes") to be used by them. Photos from page/post can have different size or shape and after an automatically resizing may not look professional, but if we use "Feature Image" we can upload images at the desired size or shape to be used by php and java scripts.
The last table at the bottom of the page is dedicated exclusively for SEO.
Posts
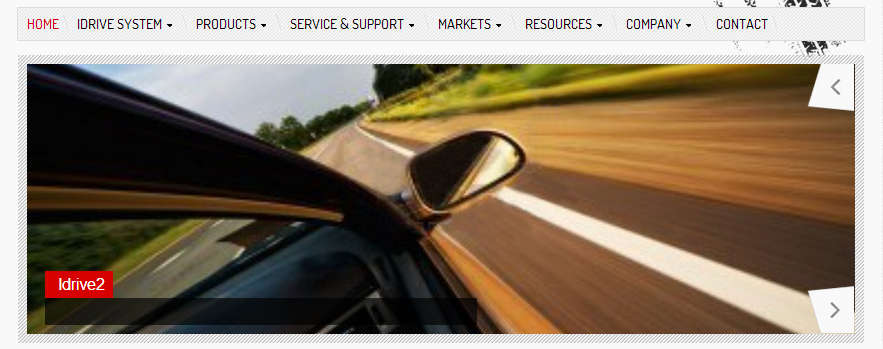
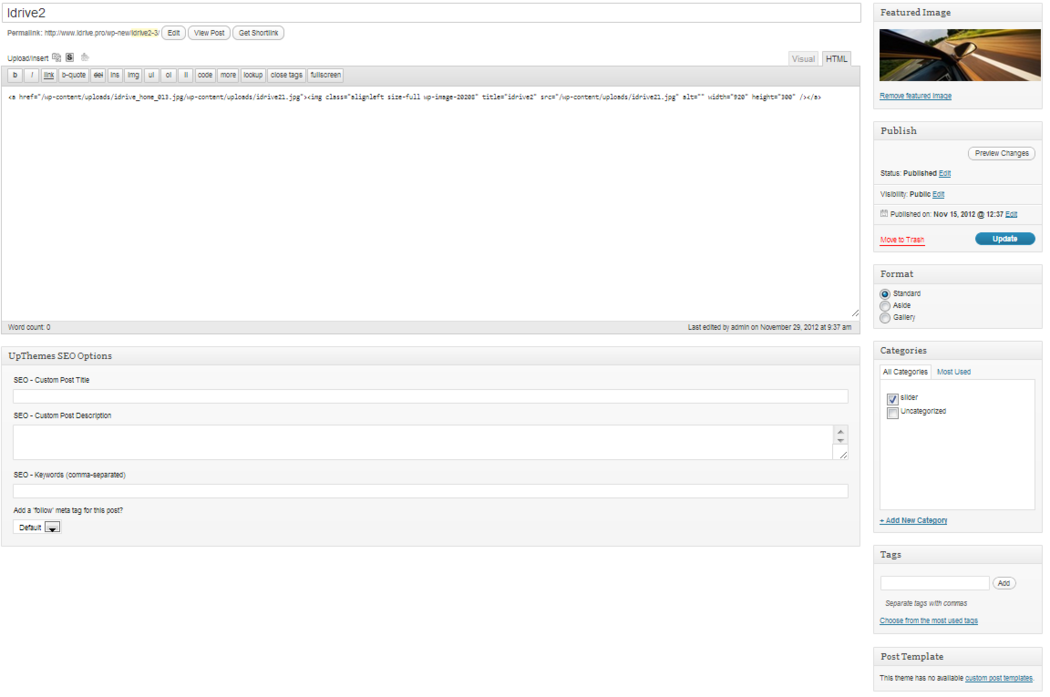
For now, we use this category just for the silder form the homepage.
To add pictures in the homepage slider you need to create new post and insert photo inside the content of the post, not to set "Featured Image" because it wont work. The title of the slider it will be the title of the post and the content of the slider, also the content of the post.
After you have finished editing the post, then you must select the slider box in the category table. If you want you can create another category from Post->Categories, but also you must set the slider to play the new category. See how to do that in section 9. Theme Options.
Custom Posts
These are the "Custom Post". They have the same properties as default "Posts" but they are better arranged same as the website meniu structure.
As you can see, each "Custom Posts" tab have his individual Slug/URL.
This option can cause issues and it can be changed from /wp-content/themes/Adityarise/assets/custom_post.php. See how to change slug here in the Design section.
Media
Here are stored all pictures uploaded in Pages, Post or Custom Posts. From here you can easly delete all the media who do not longer needed.
Links
So far I still not found a usage for this category which may help us.
Comments
The Comments have been disabled from all pages or posts. We have direct links for social networks in the website footer.
See how to change the links for the social networks in 9. Theme Options
Content Blocks
This is my favorite Plugin. He has the same properties as a page/post but his advantage is that you can add to another page or post. Instead write massive text or html code in a page you can easly write in a content block and then you can import from media toolbox (see Pages) the same content block in multiple pages. I used the content block in Idrive System for the slider in each page inside were he act and looks the same in every page but he has different properties or html code (check Design section).
Theme Options
This category is not very helpful as I thought. I used few option from here and the rest of them were more easily modified from css and html (see Design page).
General

|
The "Layout And Scheme" is set to "Left Sidebar". This option sets the position of the secondary meniu. |
| This option will set the favicon icon |
The Background Color and Background Image options are obvious.
The Link Color options have been modified from css and the rest of the options are set by default.
Header

|
This option will set logo from header. |
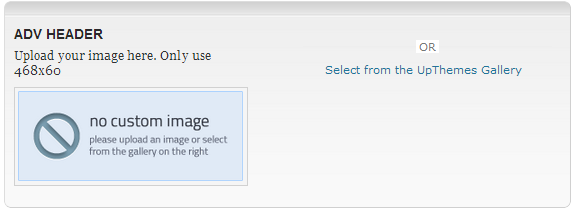
|
This option should add an adv photo in header instead the tyers logo, but this option have been removed from css. |
Slider

|
As I have explained previously in Posts, from this option you can choose which category the slider will run. |

|
We decided to choose this slider (slide-skitter) because is much more professional. |

|
As you can see, this option is available only for our slider (slide-skitter) so the other settings will remain default. |
Typography
Those options will change the font from website.
404
From this section you can edit the "404" page.

This page will appear when somebody will enter a wrong link or a deleted page.

But is more editable from html and css like many other options from this category (Theme Options) and will we use it just to add text and image.
The rest of the options from this category that I have not mentioned not really helps.
Appearance
Themes
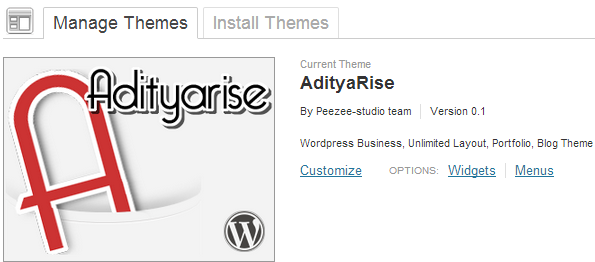
Neither this option not really helps. As you can see the AdityaRise Theme is already activated. The only setting we can do from here is to click customize and change the title.
Widgets
|
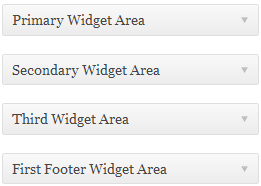
From this category we can edit the leftside menu. Also we can add the second and the third leftside menu but we will use just the Primary Widget Area. |
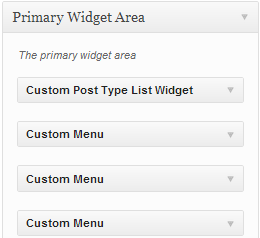
|
To add menu in widget area you can easly drag and drop from "Available Widgets" table. |
|
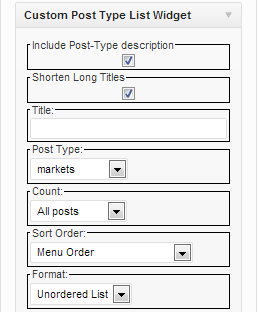
As I explained in Posts, we will work more with Custom Posts. Each Custom Posts has his own pages and his own leftside menu and what "Custom Post Type List Widget" makes is that he adds page dynamically when we create a new in Custom Posts. Should also be noted that "Custom Post Type List Widget" is a Plugin that we can drag and drop from "Available Widgets". In this picture you can see that this plugin is set to "markets" but "Markets" in not the only "Custom Posts" that we have. We have also "Idrive System", "Products", etc. and we must create leftside menu for each. This may be a problem beacause Wordpress will show all lefside menus in all pages an we will need individual leftside menu in each page.
|
|
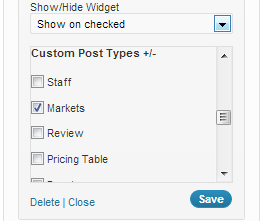
To do add an particular leftside menu to a particular "Custom Post" we will use another Plugin from "Available Widgets".
This is set to appear only in "Markets" Custom Posts. |
|
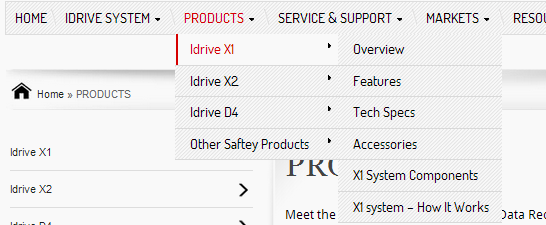
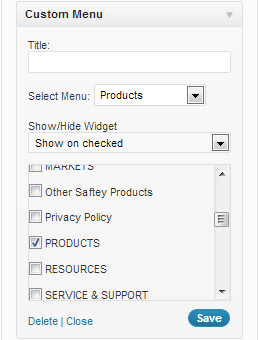
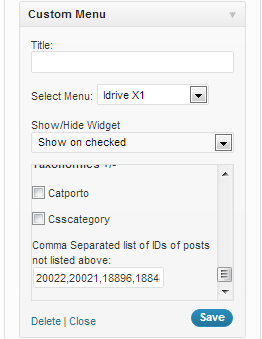
Pages as "Idrive System" or "Products" have a more complex menu. For that we must create a custom menu for each post (see section Menus) and then select the custom menu from dropdown list. |
|
Unfortunately the plugin does not recognize the custom posts as pages, only as category and to show particulary custom menu on particulary custom post we must enter the "Post ID" of which post we want to appear the custom menu. |
|

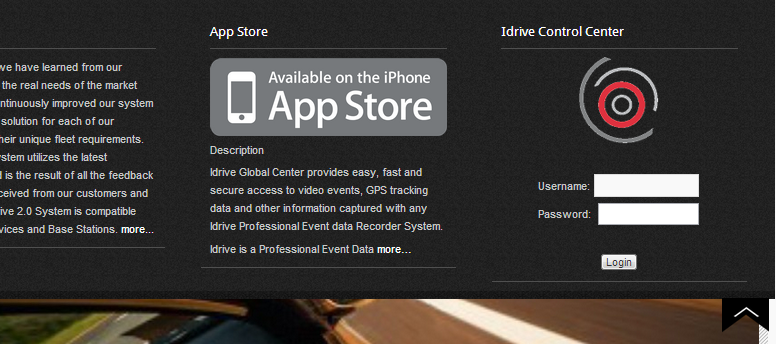
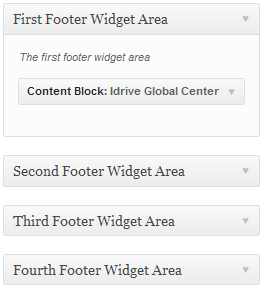
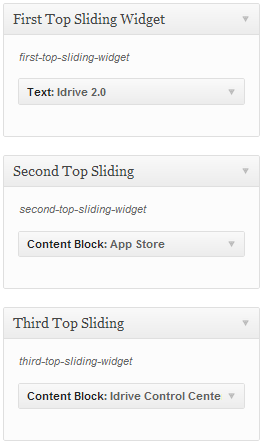
Those widgets appear on website footer. As you can see I used "Content Block" Plugin to create an html custom menu. You can also add pictures or another custom menu. |
|

|
Menus
This is the menu structure of our website. To add Pages or Post in meniu you can easy check the box of the desired page then "Add to Menu". After that the Post it will appear on the bottom of the page and from there you must drag and drop on the desired location. A page below another indicates a submenu so you can create as many submenus you like. To create a "Custom Menu" you must click on plus sign and then to add pages inside. After you will save your custom menu, this will be available on "Custom Menu" Widget.

Editor
This is an html and php editor but I do not recommend it because once you update the file there is no turning back.
Plugins
Here are all the installed plugins. Each plugin has a description so please read the description first.
Users
From this category we can create new users.
Settings
From this category we won't change to much.
General
We can change the site title just as we can change in Appearance-Template.
DO NOT CHANGE THE URL. This will spoil the database.
The rest of the options are default.
Reading
From here the "Front page displays" box must be checked on "A static page" and the front page must be "HOME".
Permalinks
Parmalinks are set to "Post name" for a better view and a better index in google.
Shortcodes
Just like "Content Block", instead useing massive html code you can easly use shortcodes.

You can insert shortcode from media toolbox or you can easly write the shortcode like this: "[sws_3_columns_lastnotitle]". You can create shortcode useing html or javascrip code and you can add in posts with a single line [the_name_of_the_shortcode]text[/the_name_of_the_shortcode] . This is very useful and by default the theme has installed several shortcodes which I have used and that I will show in Design.

